Create and manage projects #
Projects are goal-specific folders where you can create VNETWORK Edge Cloud products including instances, volumes, and networks. Each project acts as a separate environment; its resources are isolated from the resources in any other project. You can control access to these resources by specifying user permissions on a per-project basis.
You can view projects in the VNETWORK Customer Portal via either the Project dropdown or the Cloud Management page.
From the Project dropdown #
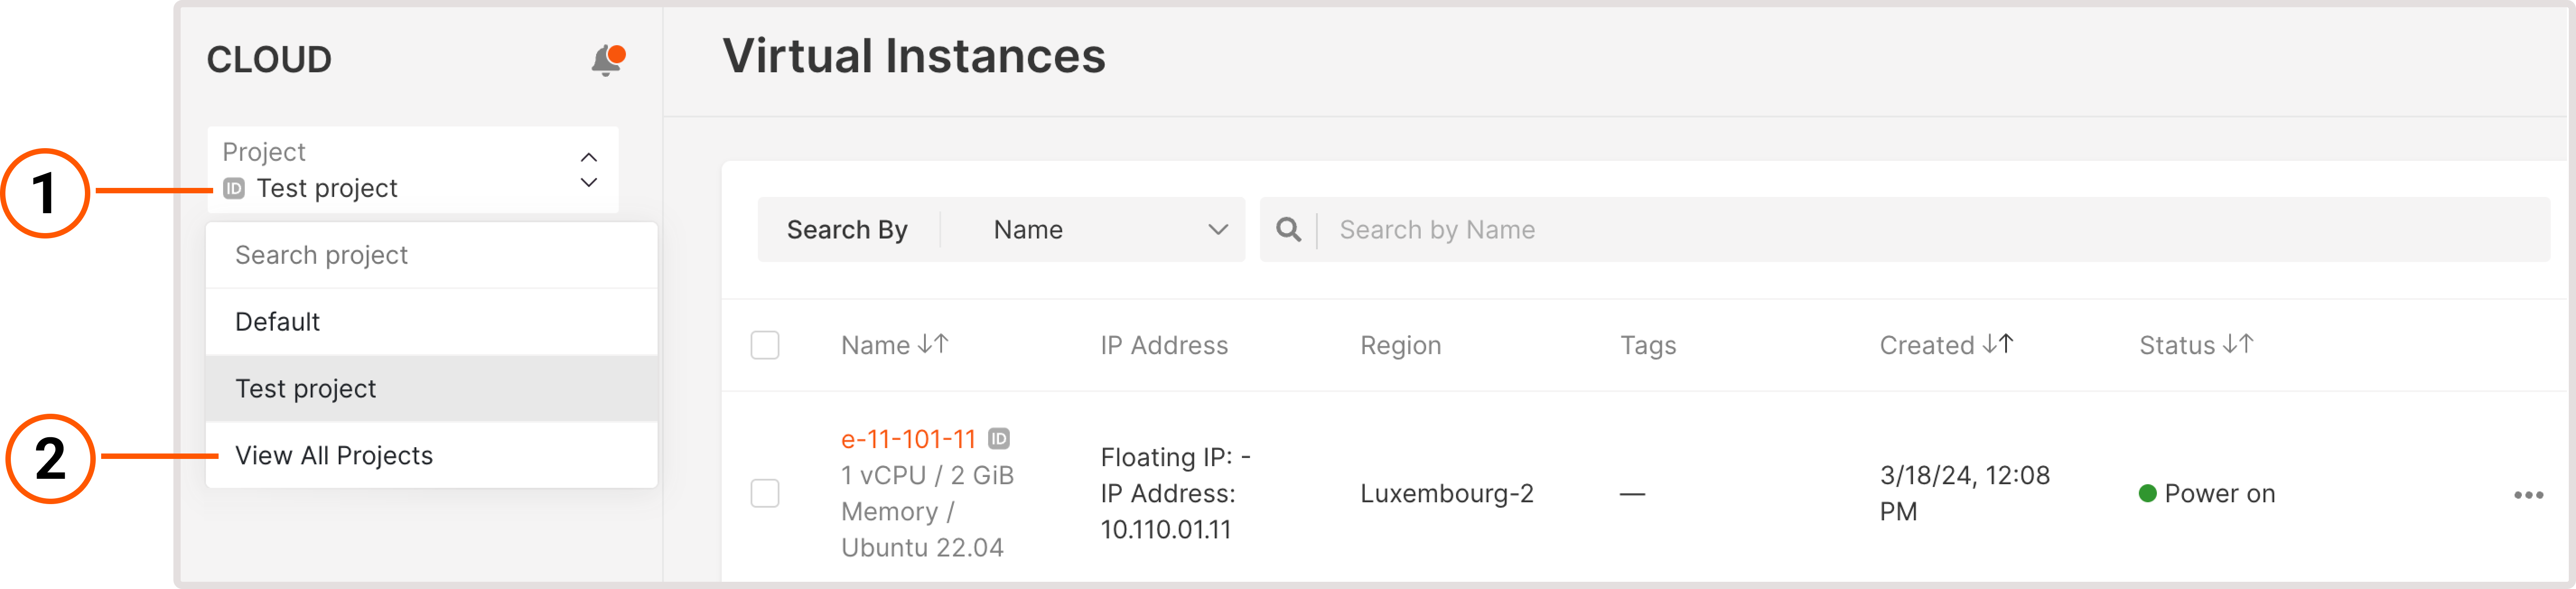
1. Navigate to the Cloud page and select the Project dropdown.
2. Select View all projects.
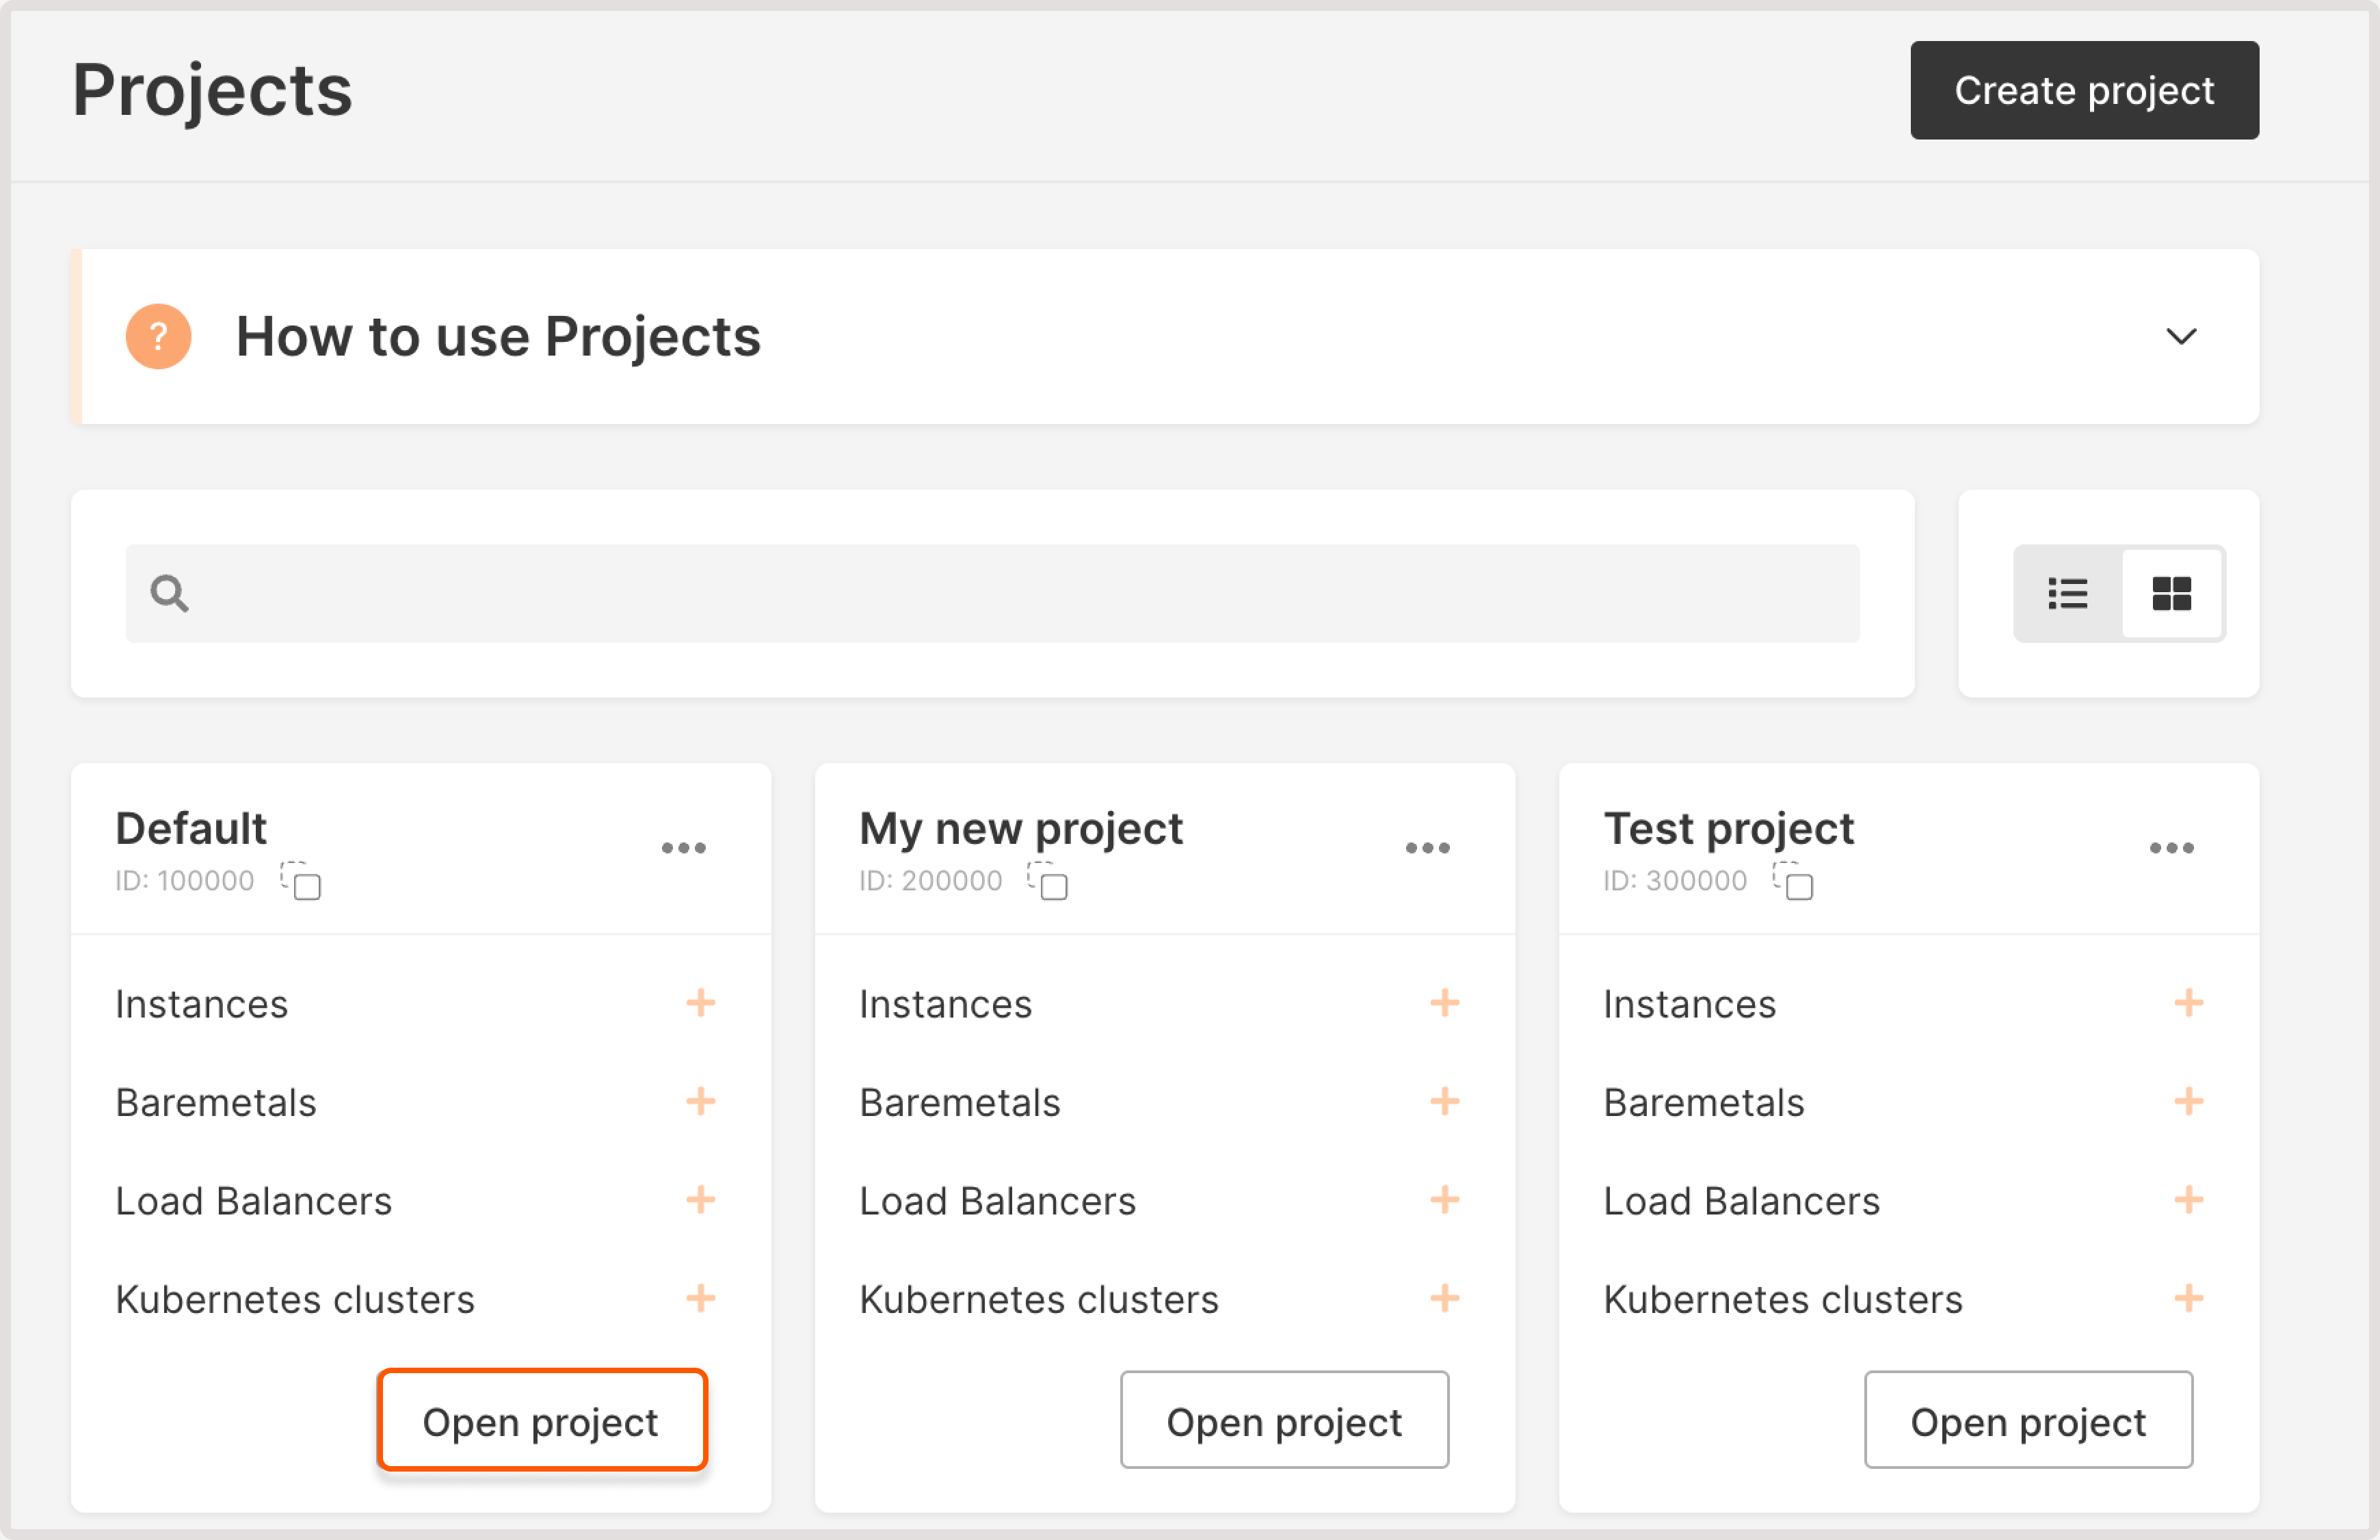
3. The Projects page will open. Here you can view, search for, and manage your projects.
To open the resource management panel for a particular project, click Open project.
From the Cloud Management page #
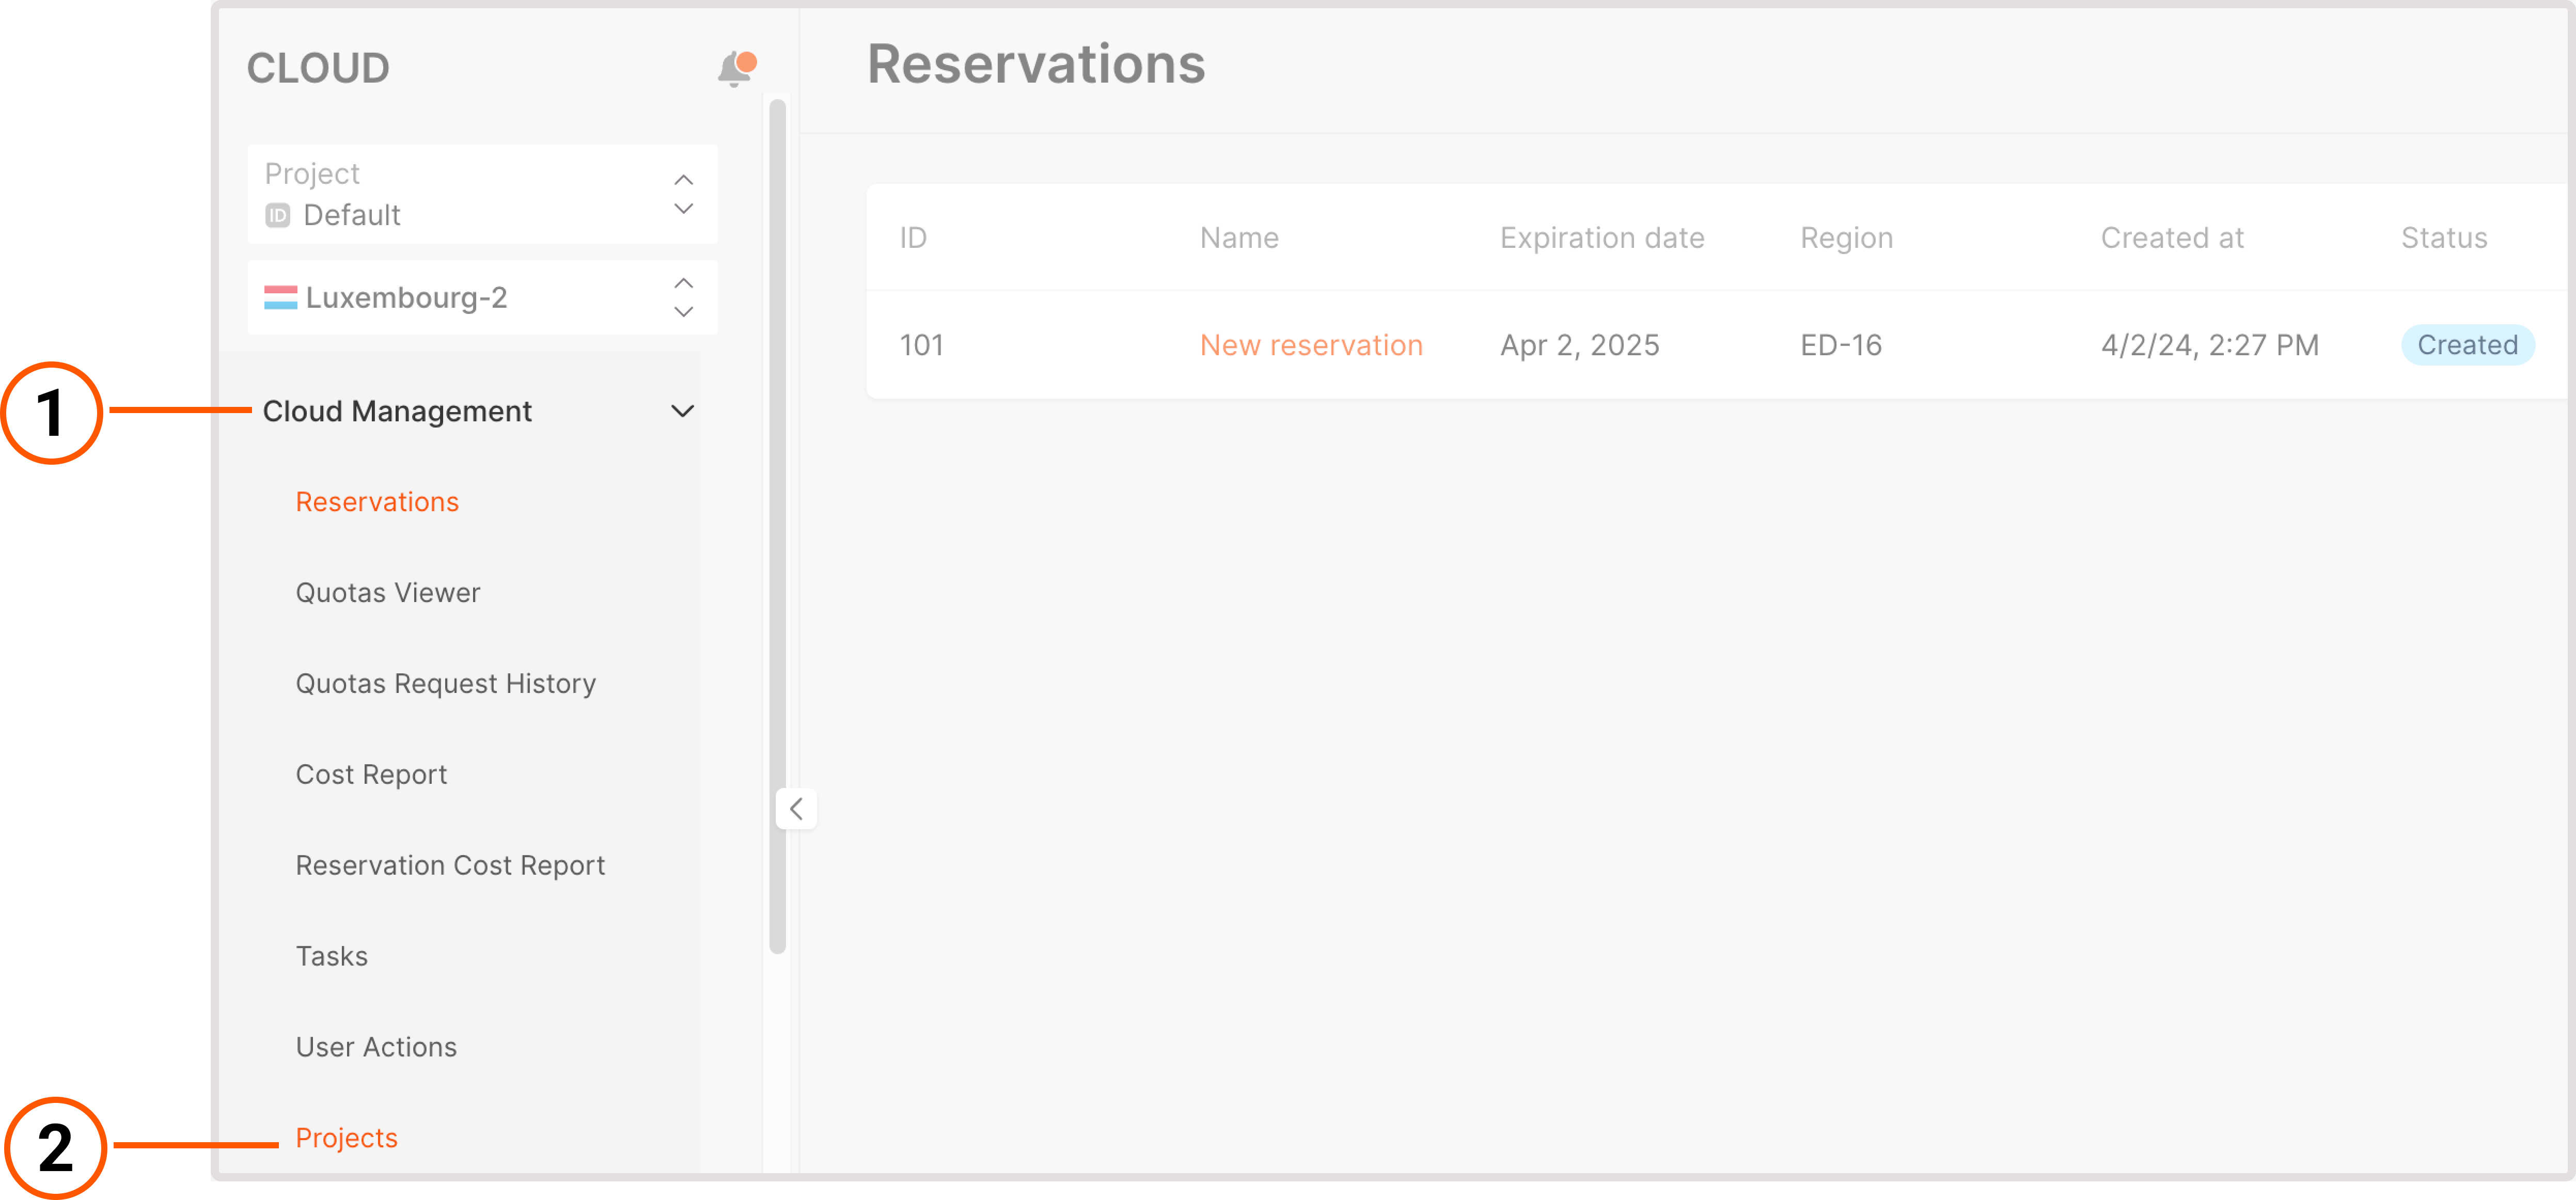
1. Navigate to Cloud > Cloud Management.
2. Click Projects.
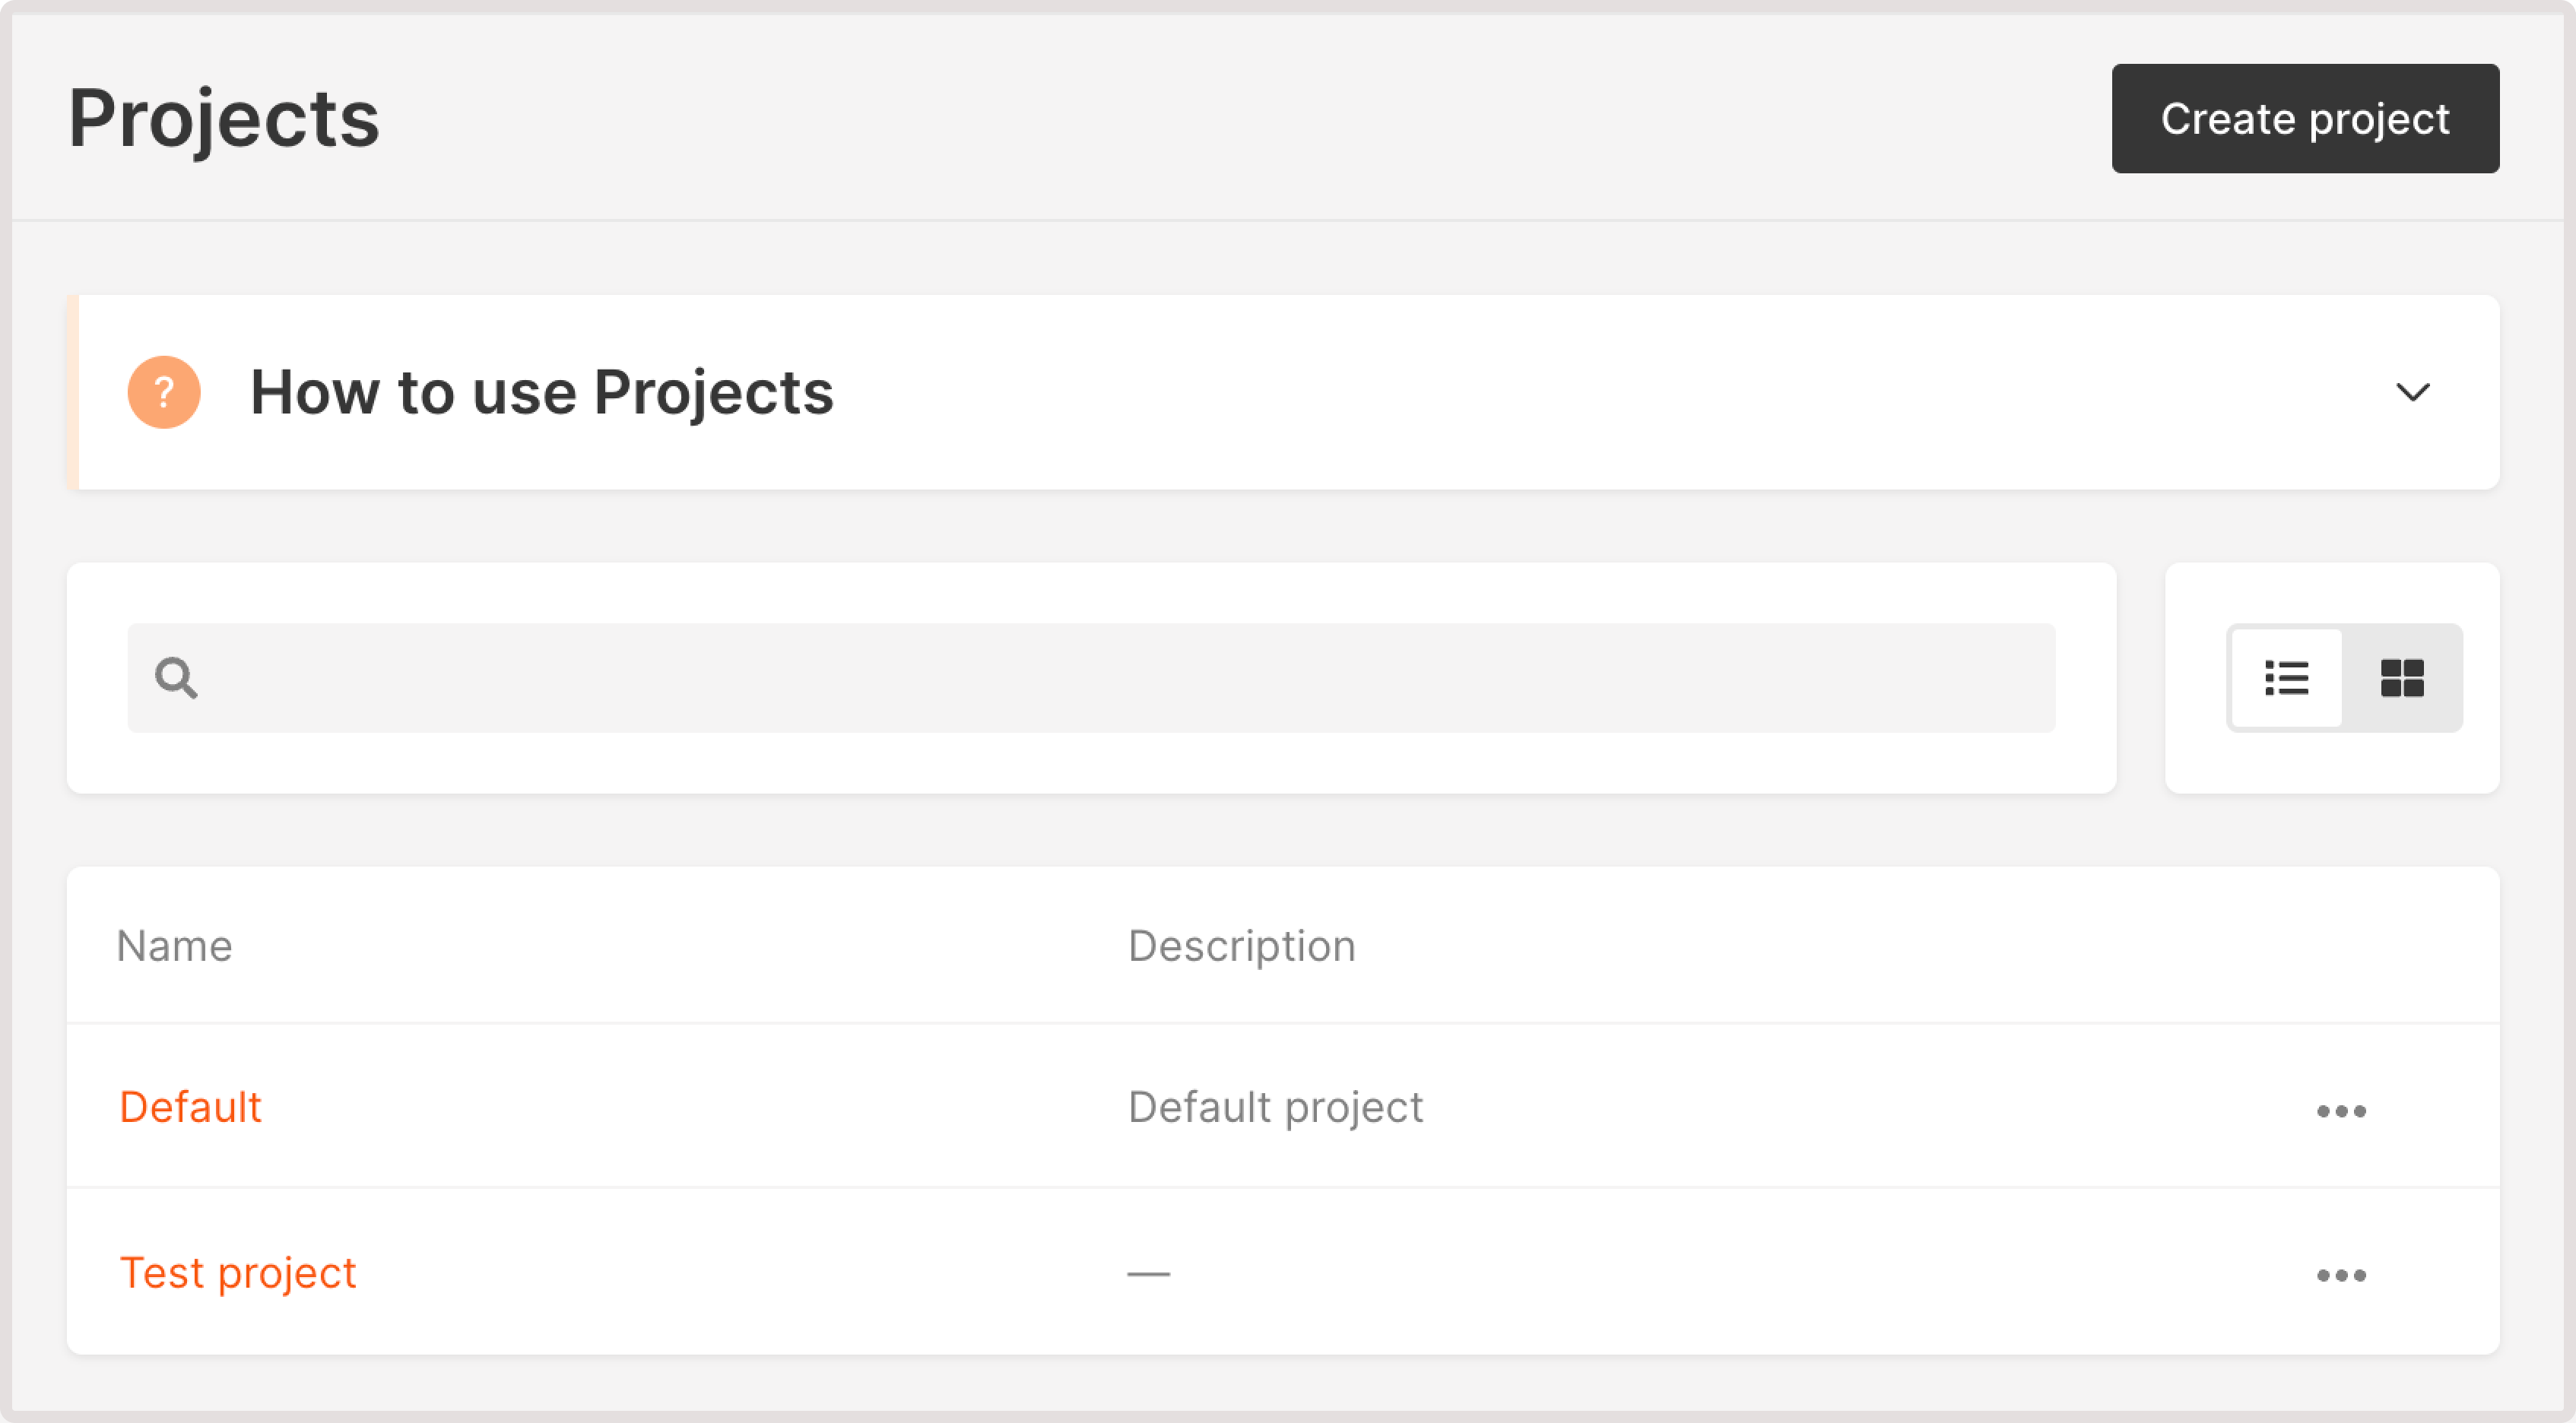
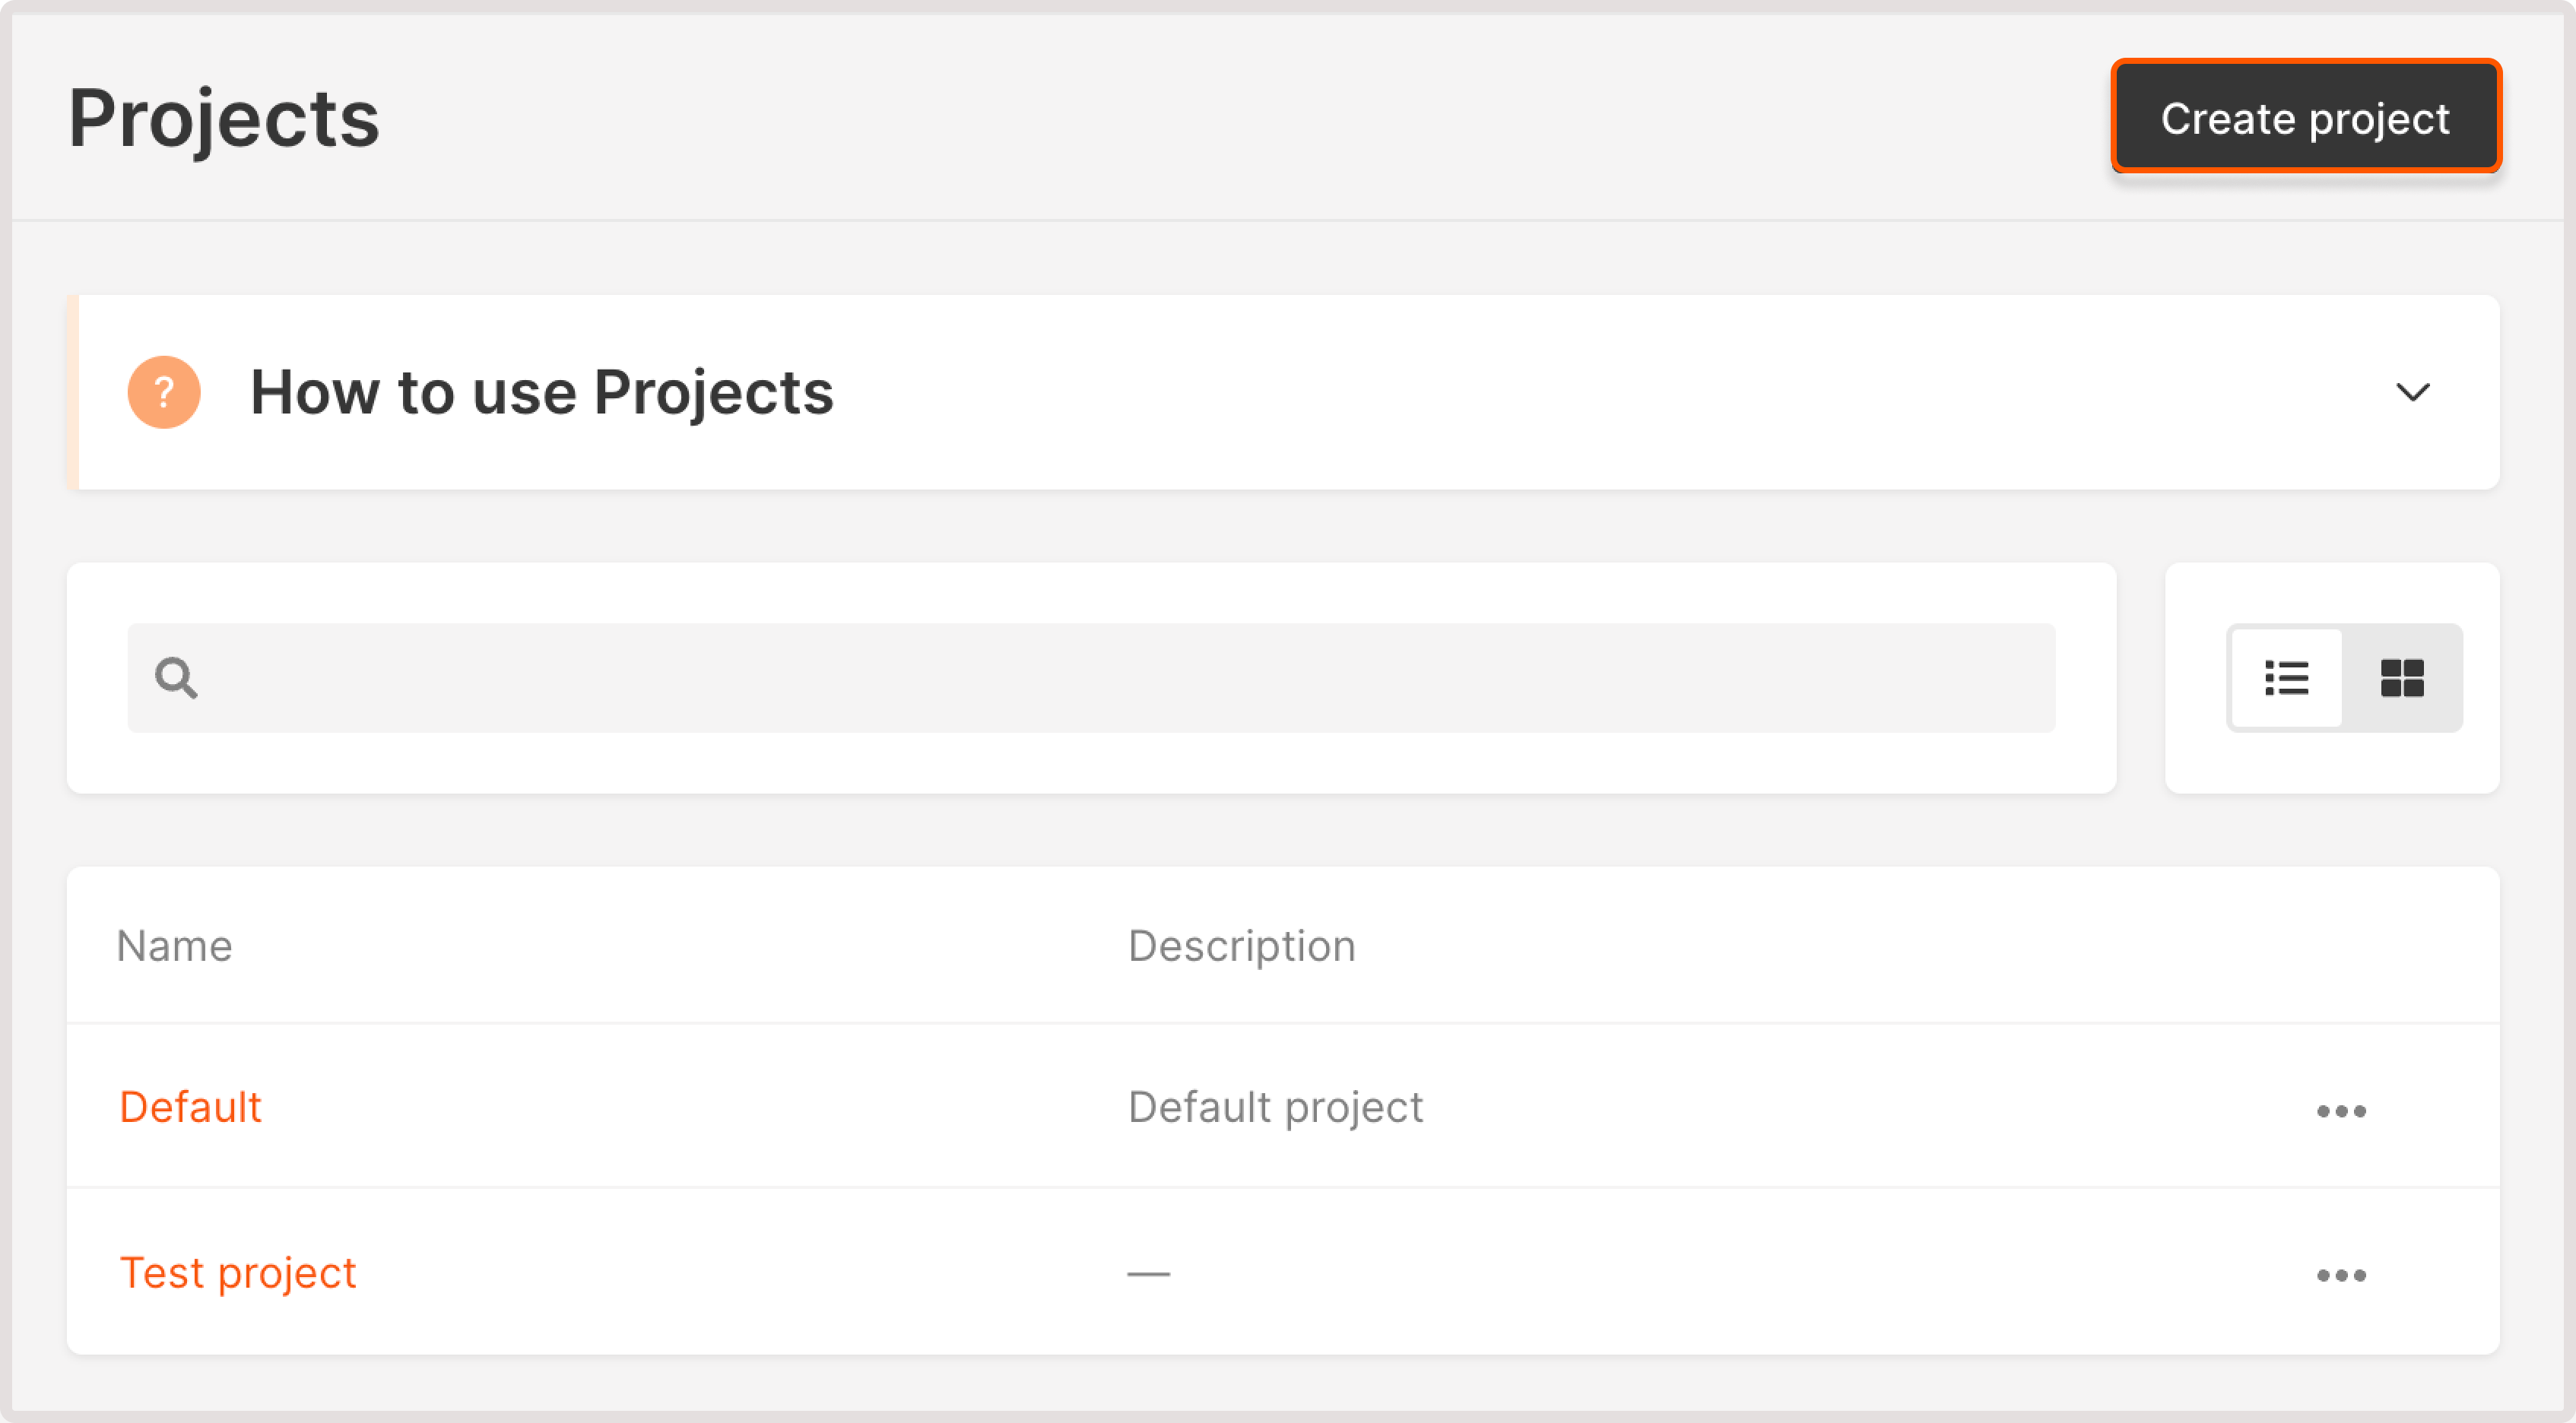
3. The Projects page will open. Here you can view, search for, and manage your projects.
To open the resource management panel for a particular project, click the project name.
View projects in different layouts #
You can change the layout on the Projects page to display the information in two ways:
- List view. Presents all projects as a concise list with only the project name and description displayed.
- Grid view. Presents all projects as tiles with extra information displayed: project name, ID, and a list of Edge Cloud resources that you can create by clicking the plus button.
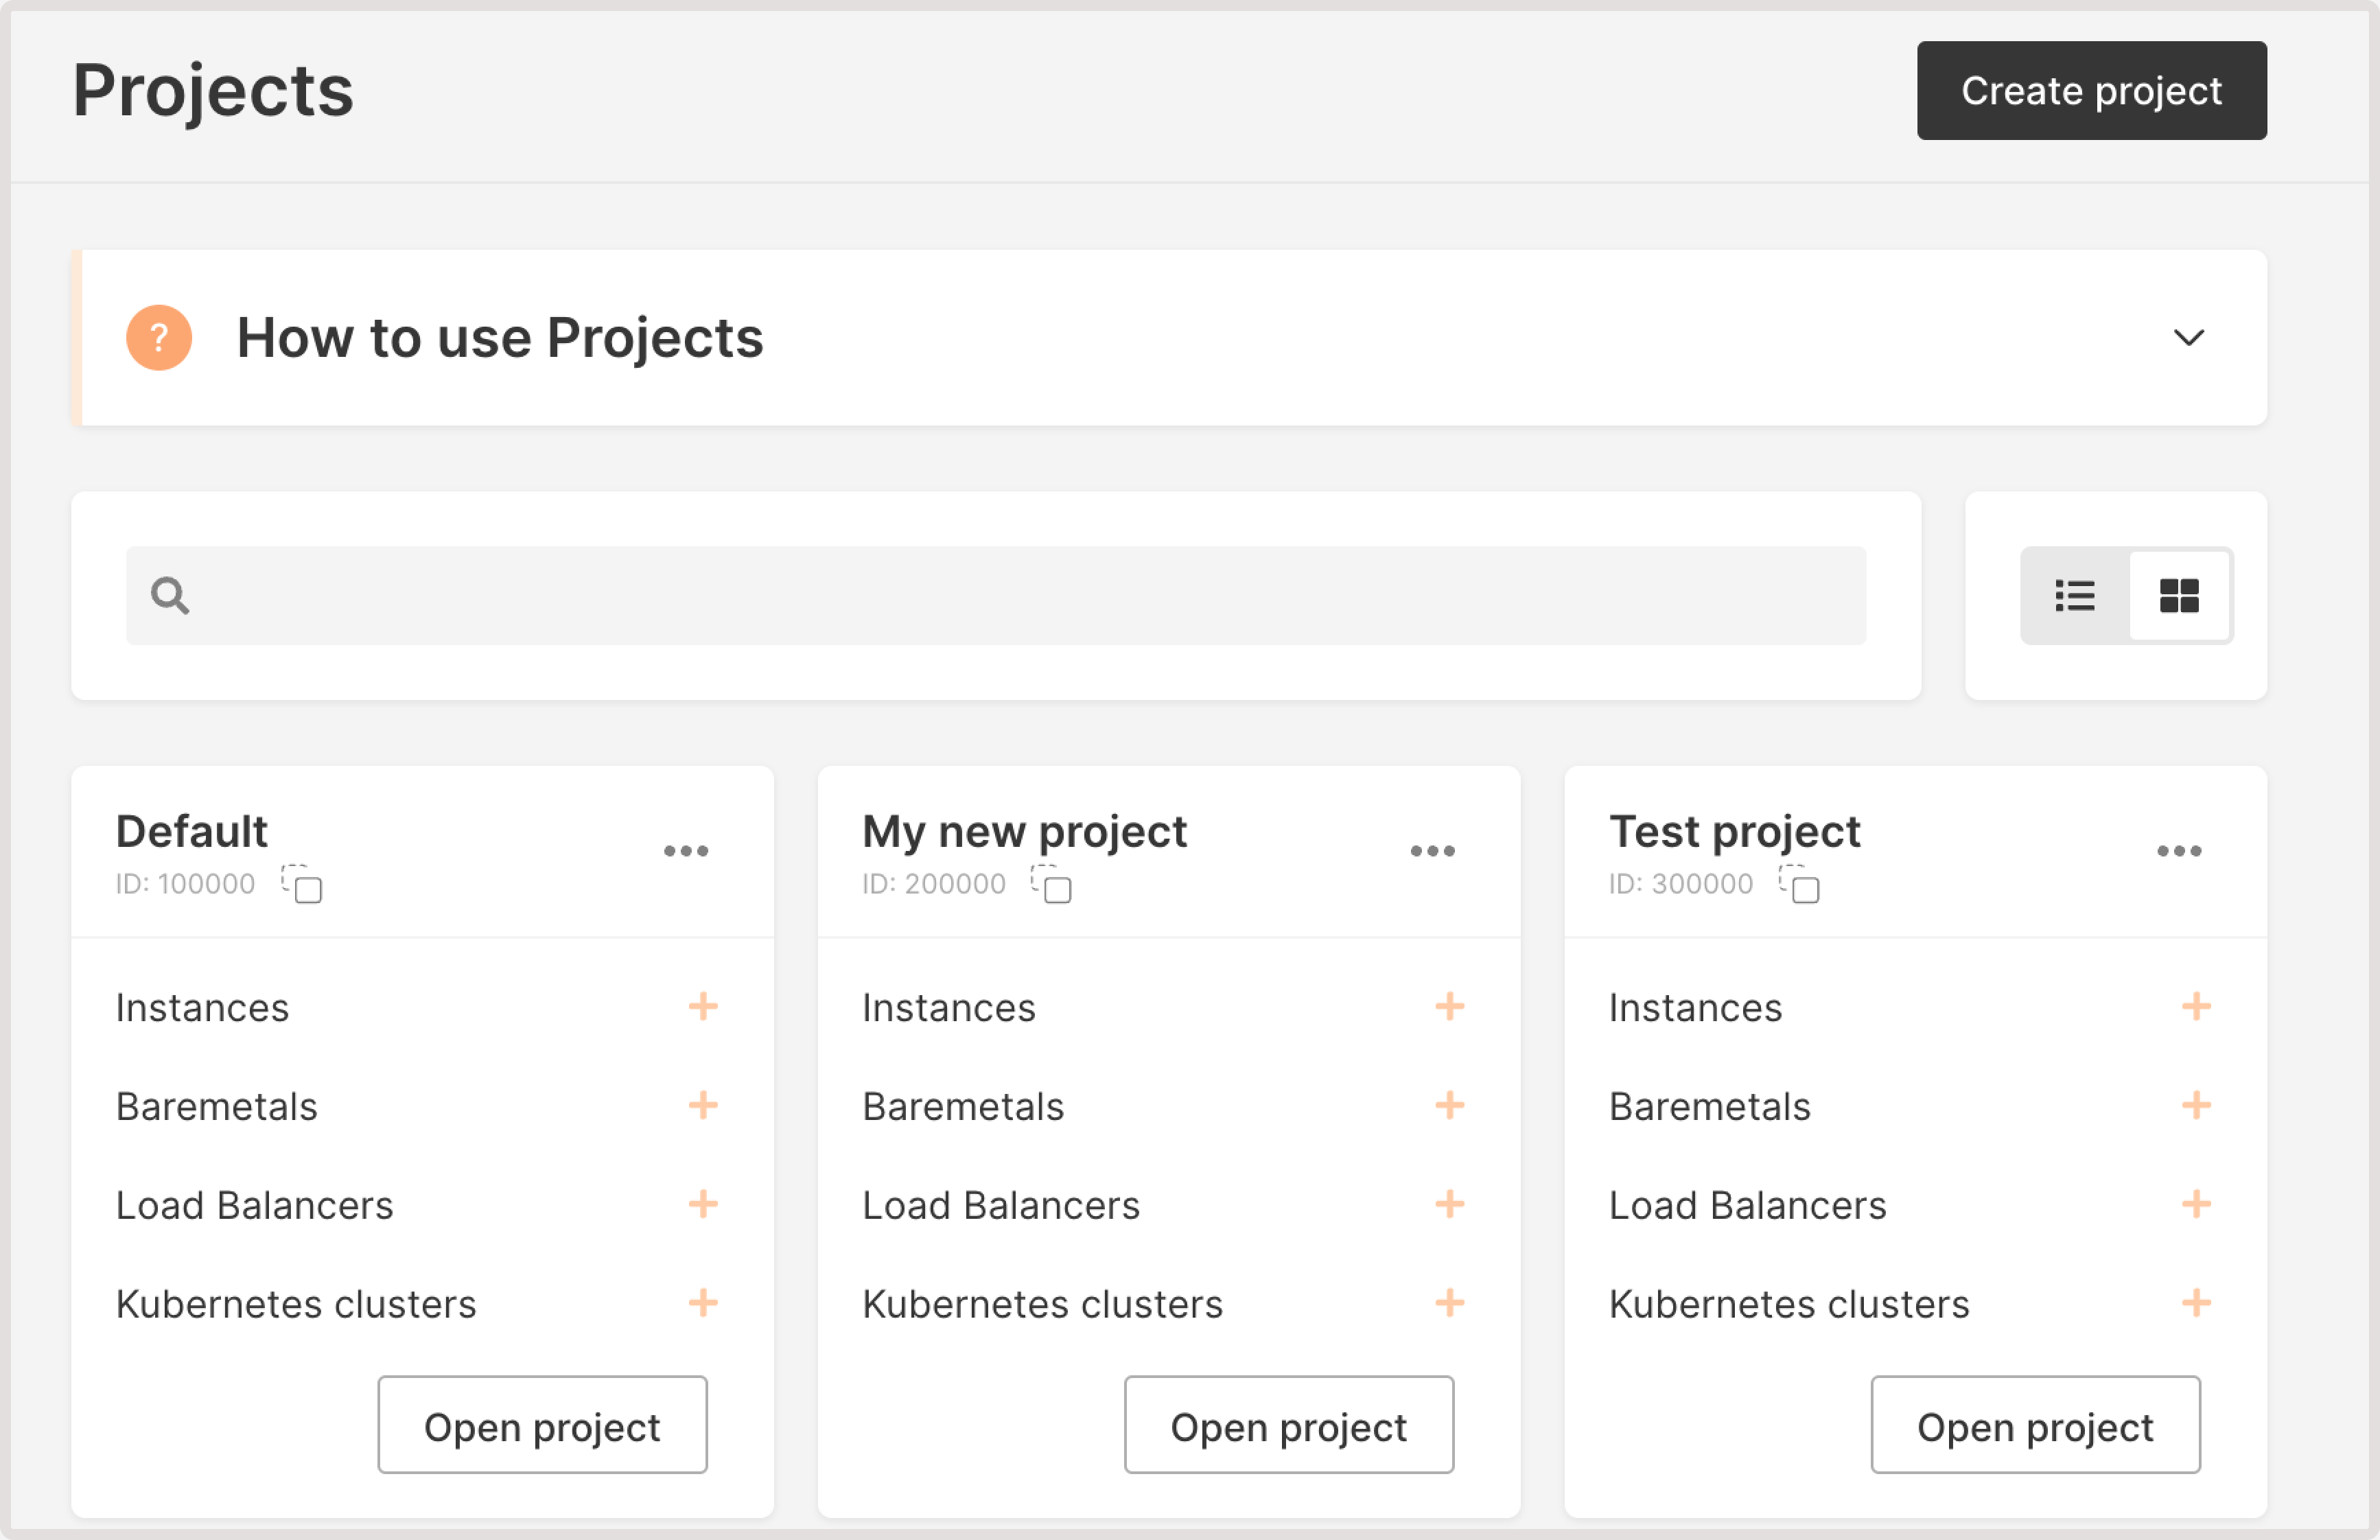
You can switch between two layouts by clicking the layout icon to the right of the search bar.
Create a project #
When you first navigate to the Cloud page, you’ll have only one Default project. This project is created automatically for every account and can’t be deleted.
You can create more projects to organize your cloud resources. The number of projects doesn’t affect your expenses, you only pay for resources used.
To create a project:
1. Navigate to the Projects page.
2. In the upper-right corner of the screen, select Create project.
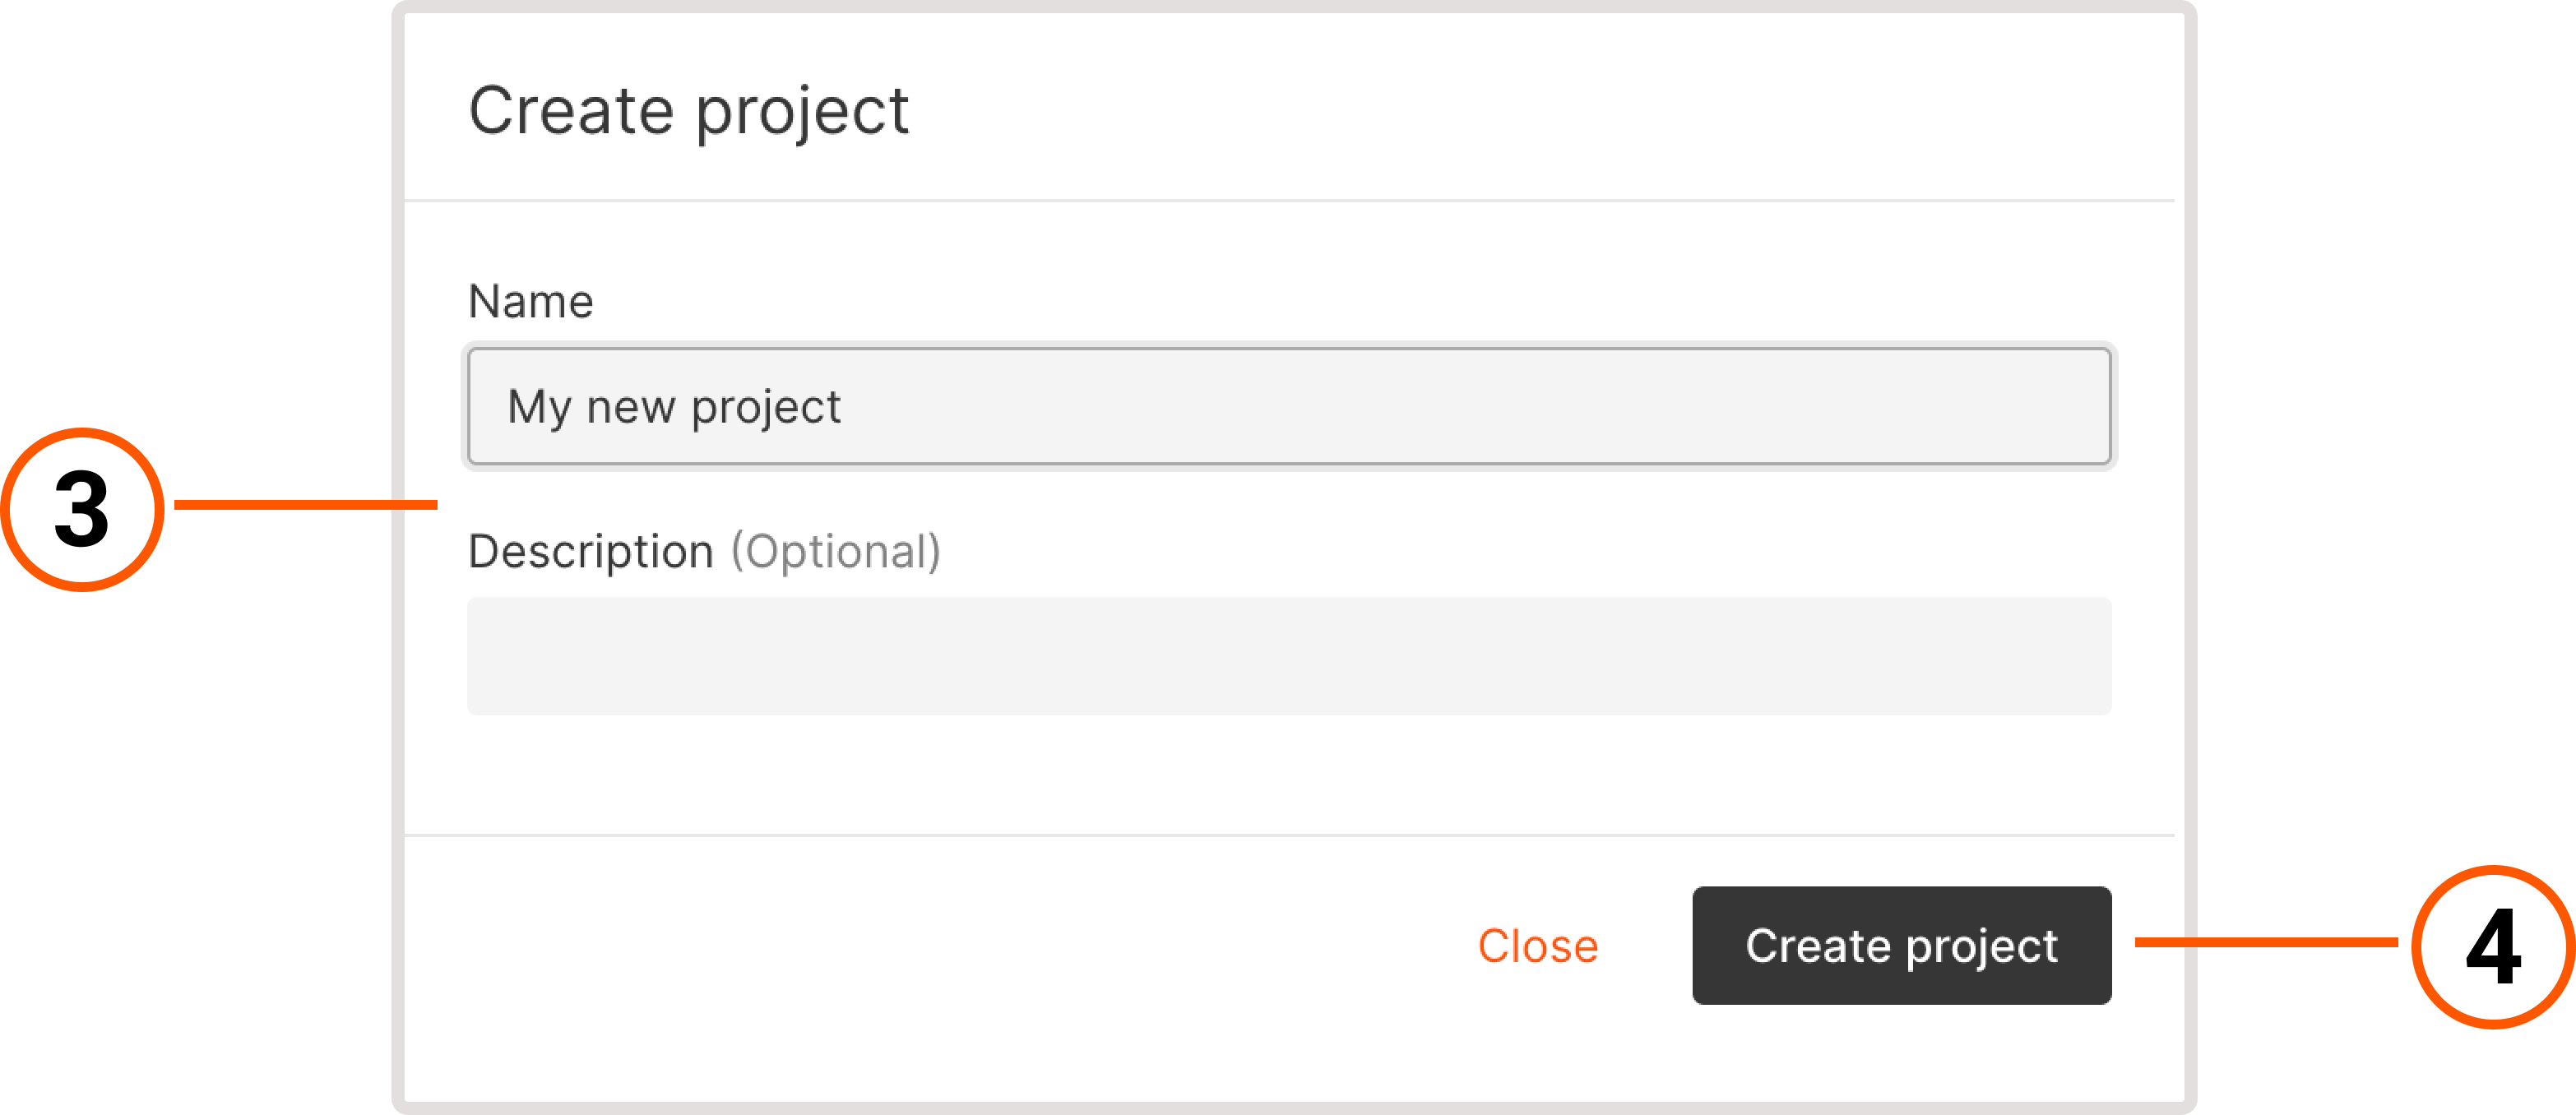
3. Enter your project name. Optionally, add a description.
A project name can contain between 3 and 63 characters, including Latin letters, numbers, hyphens, underscores, spaces, and dots. The name can’t end with a hyphen.
4. Click Create project.
The new project will appear in your project list.
Manage projects #
You can edit the project name and description, delete a project if you have the appropriate permissions, and configure access to the project.
If you have a large number of projects, you can also use search to find the one that you need.
Edit project name or description #
1. Navigate to the Projects page.
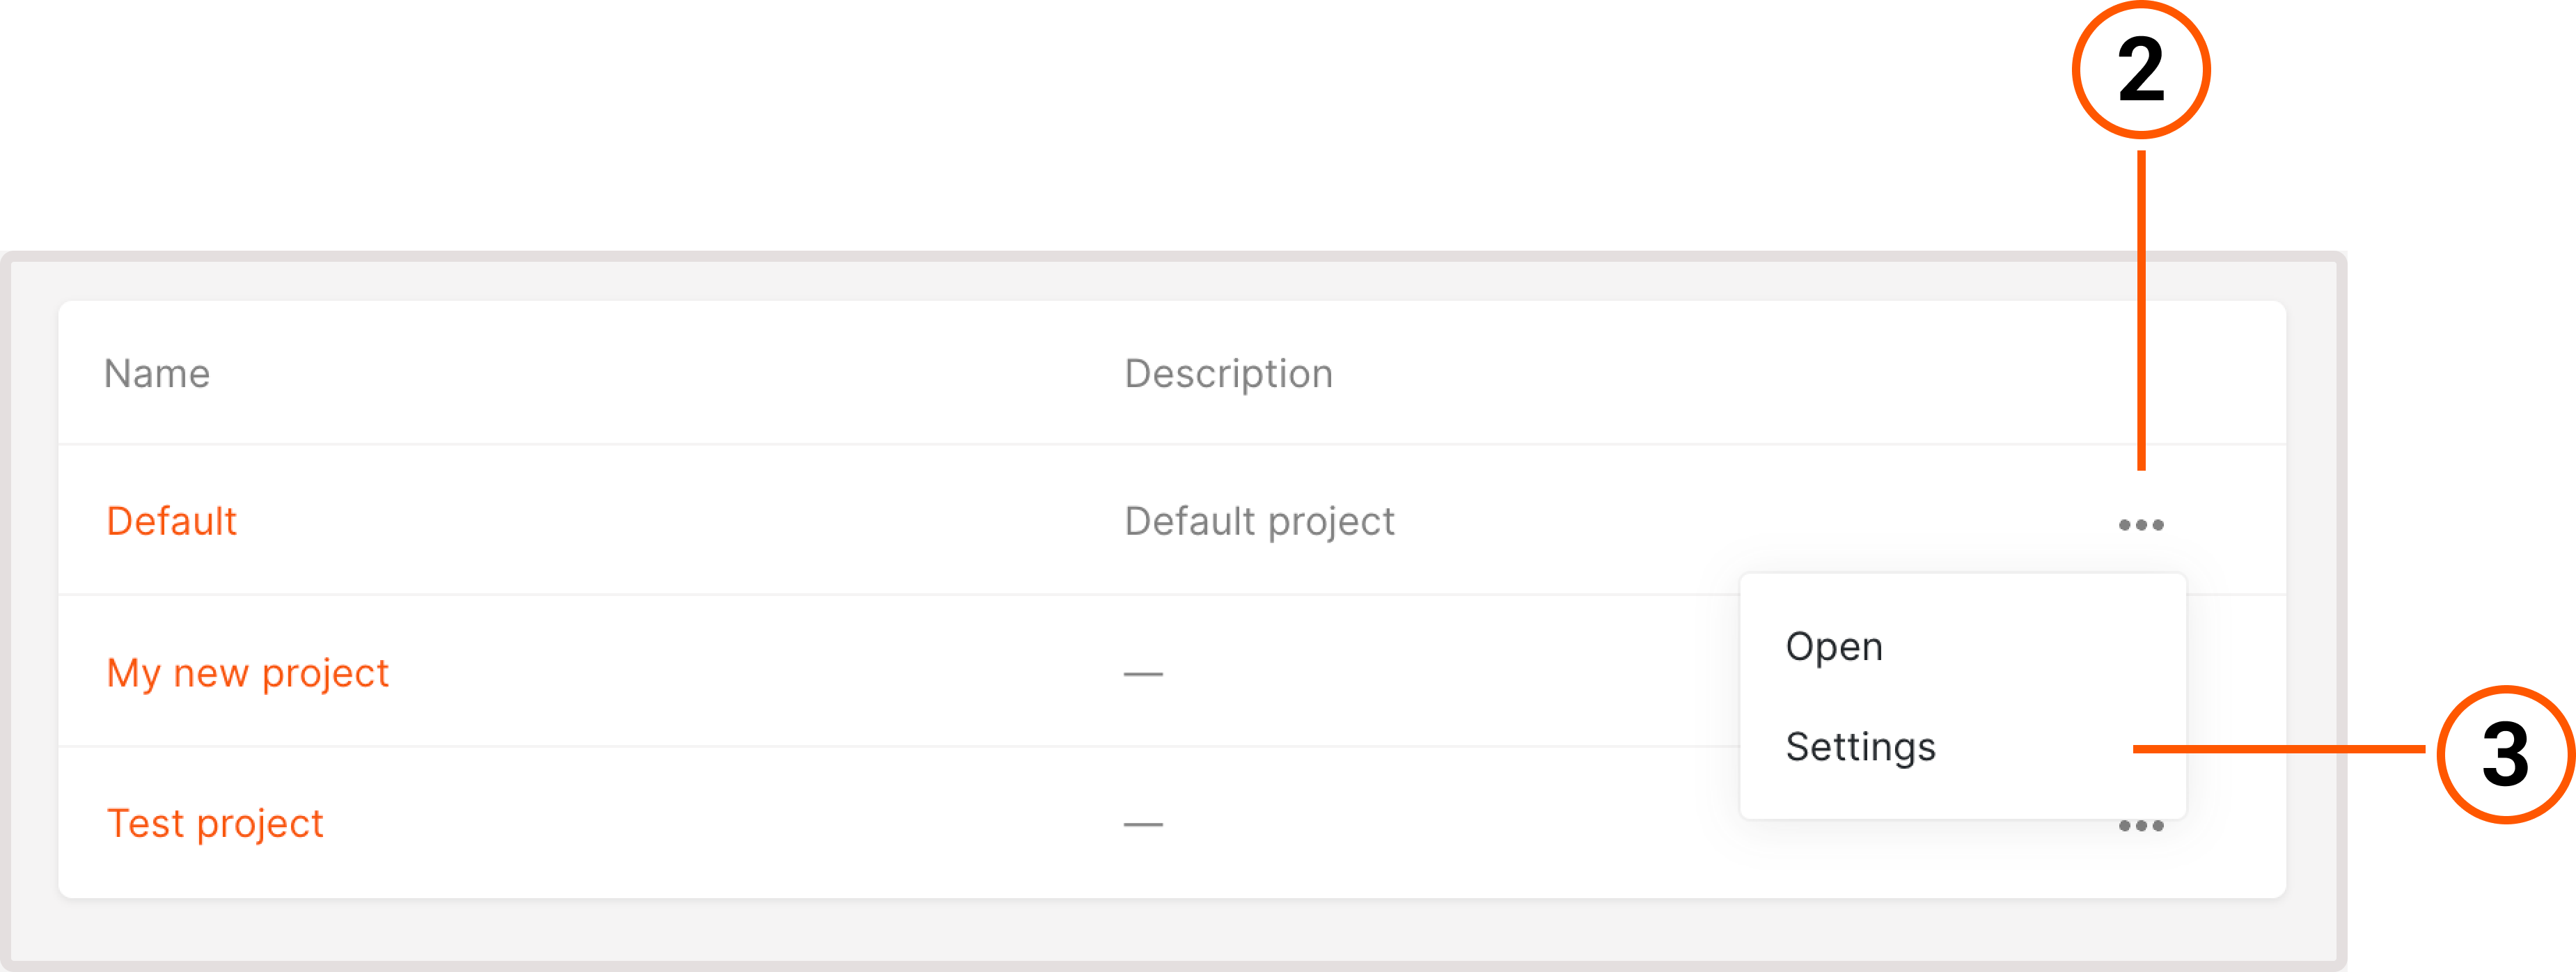
2. Click the three-dot icon next to the project you want to edit.
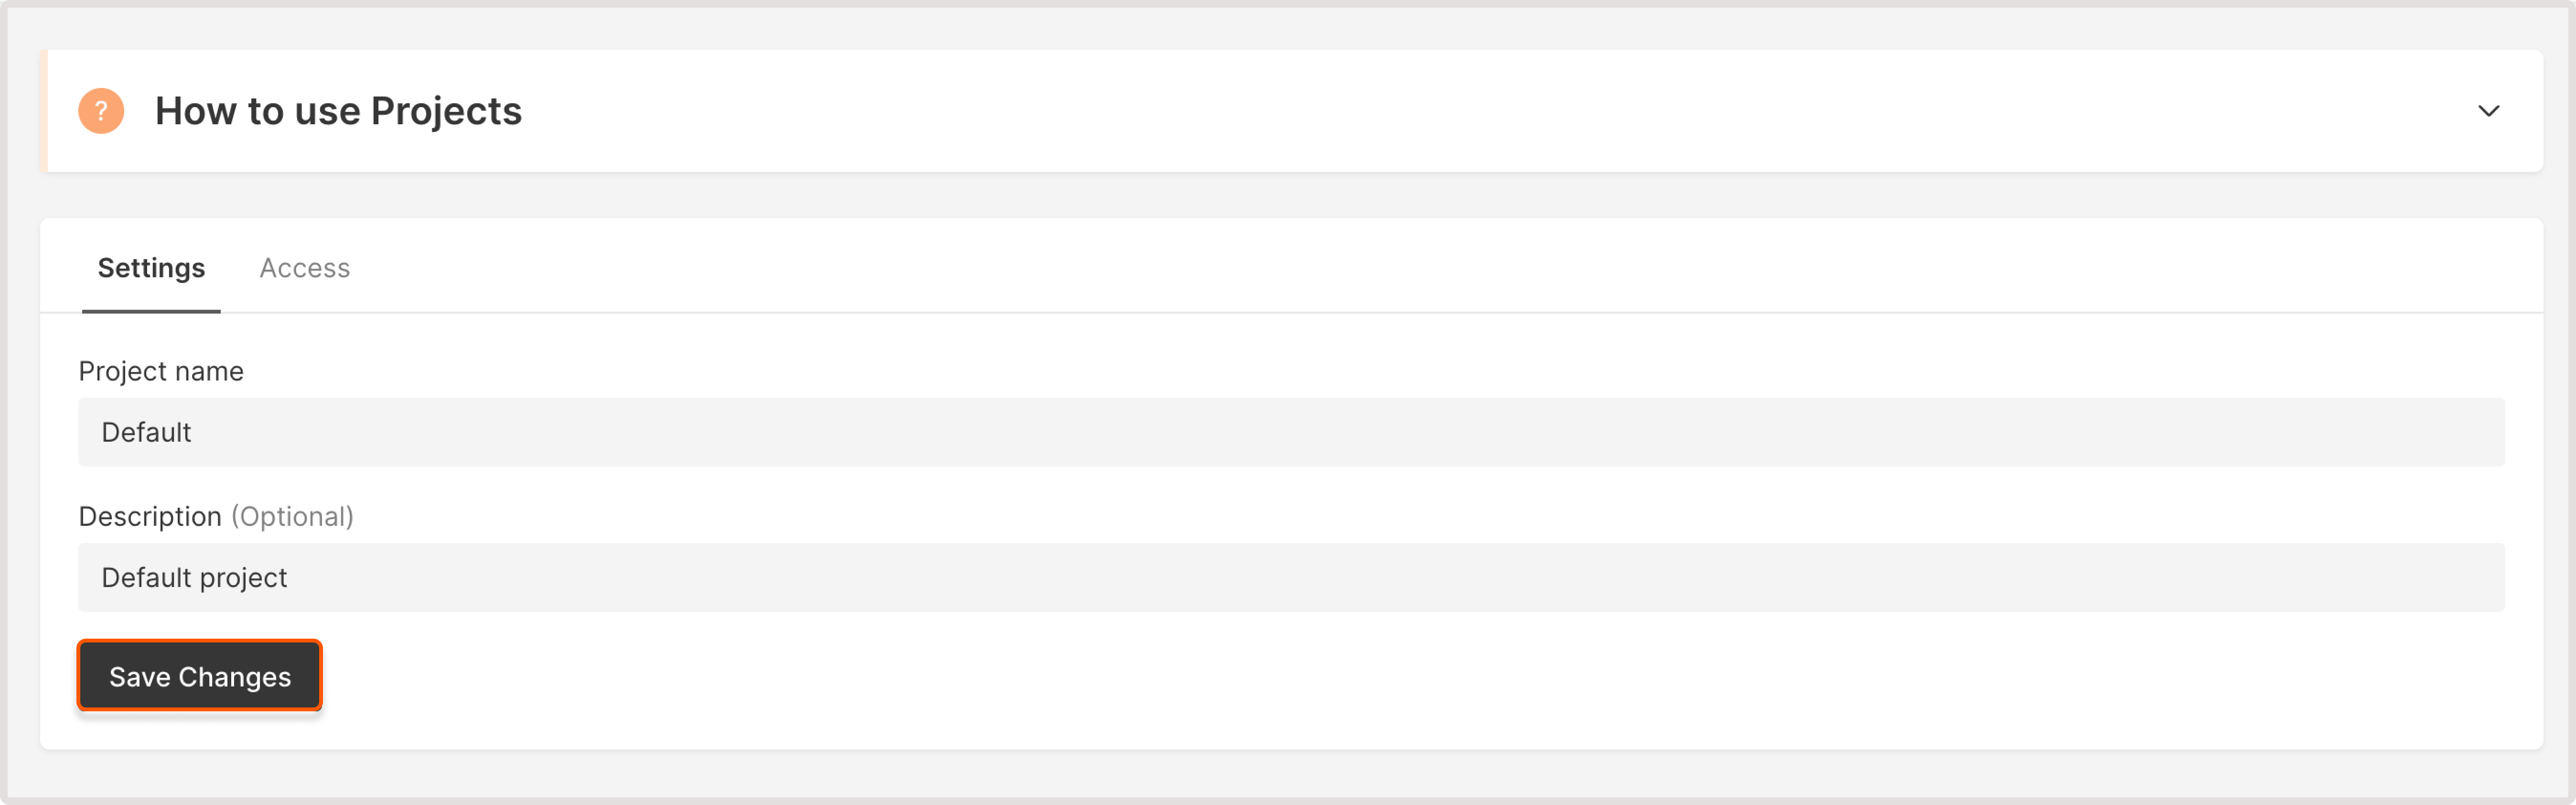
3. Select Settings.
4. Update project information and then click Save changes to apply the updates.
Manage project access #
To view and modify user access to the project, you need Client Administrator or Project Administrator access.
To change access to the project:
1. Open the Projects page and find the project you want to update.
2. Click the three-dot icon next to the project you want to manage.
3. Select Settings.
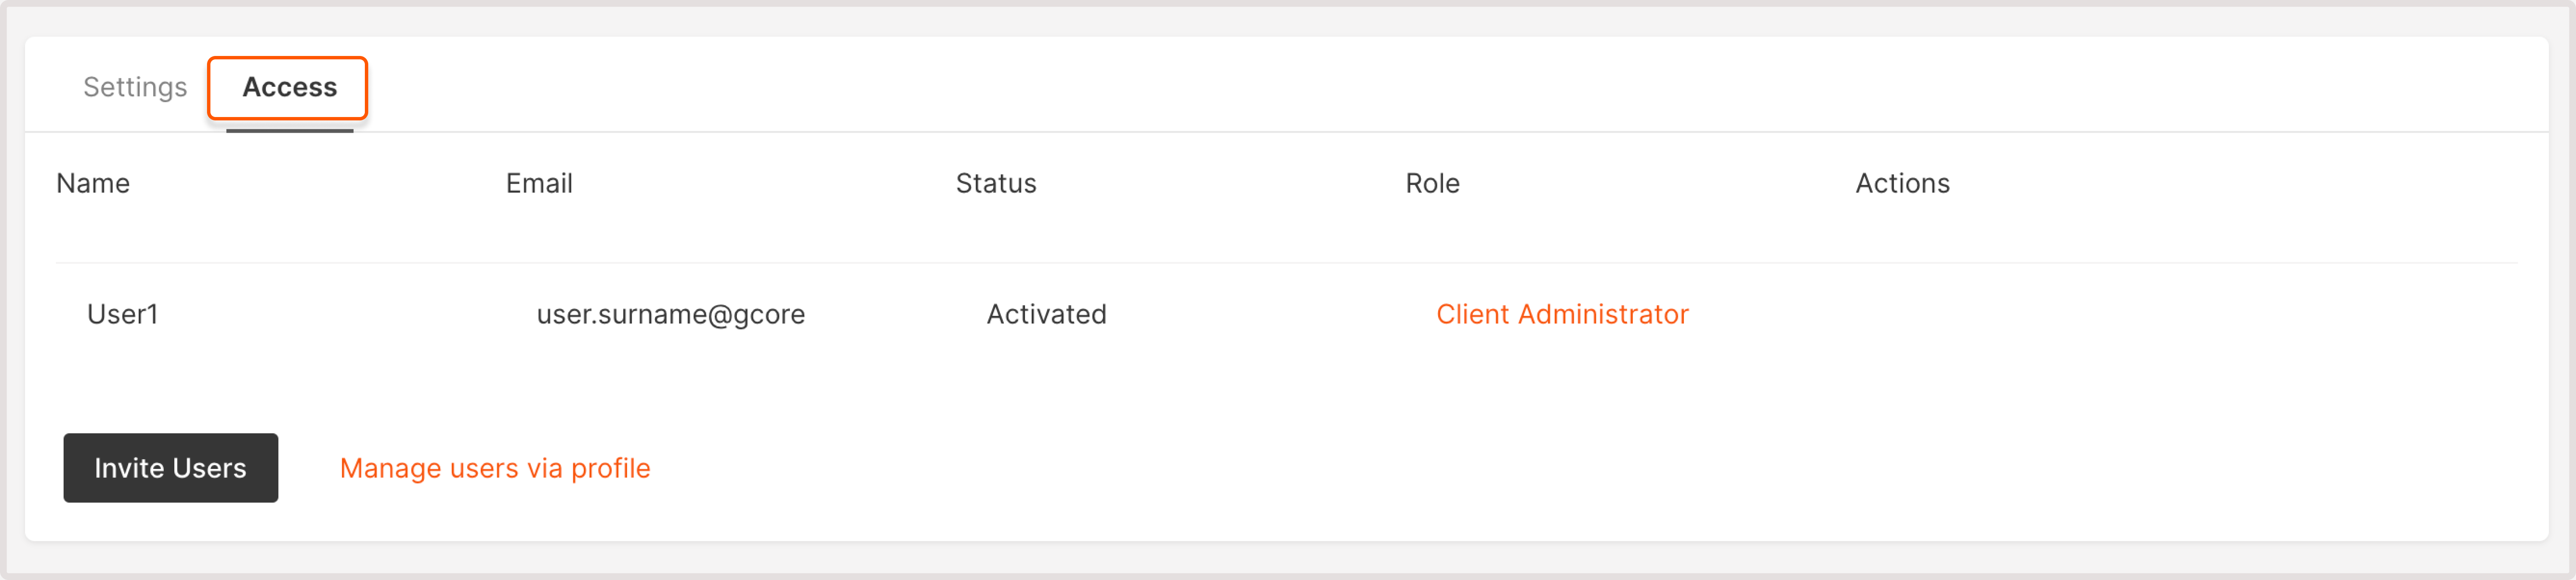
4. Open the Access tab. You’ll see the list of users associated with the project and their access levels. To manage user access, follow the instructions in our guide on how to manage user access to your project.
To configure user access within your account, click “Manage users via profile”.
Delete a project #
To delete a project, you need Client Administrator or Project Administrator access.
When you delete a project, all resources inside that project will be permanently deleted and can’t be restored. Default projects can’t be deleted.
To delete a project:
1. Navigate to the Projects page.
2. Click the three-dot icon next to the project you want to delete.
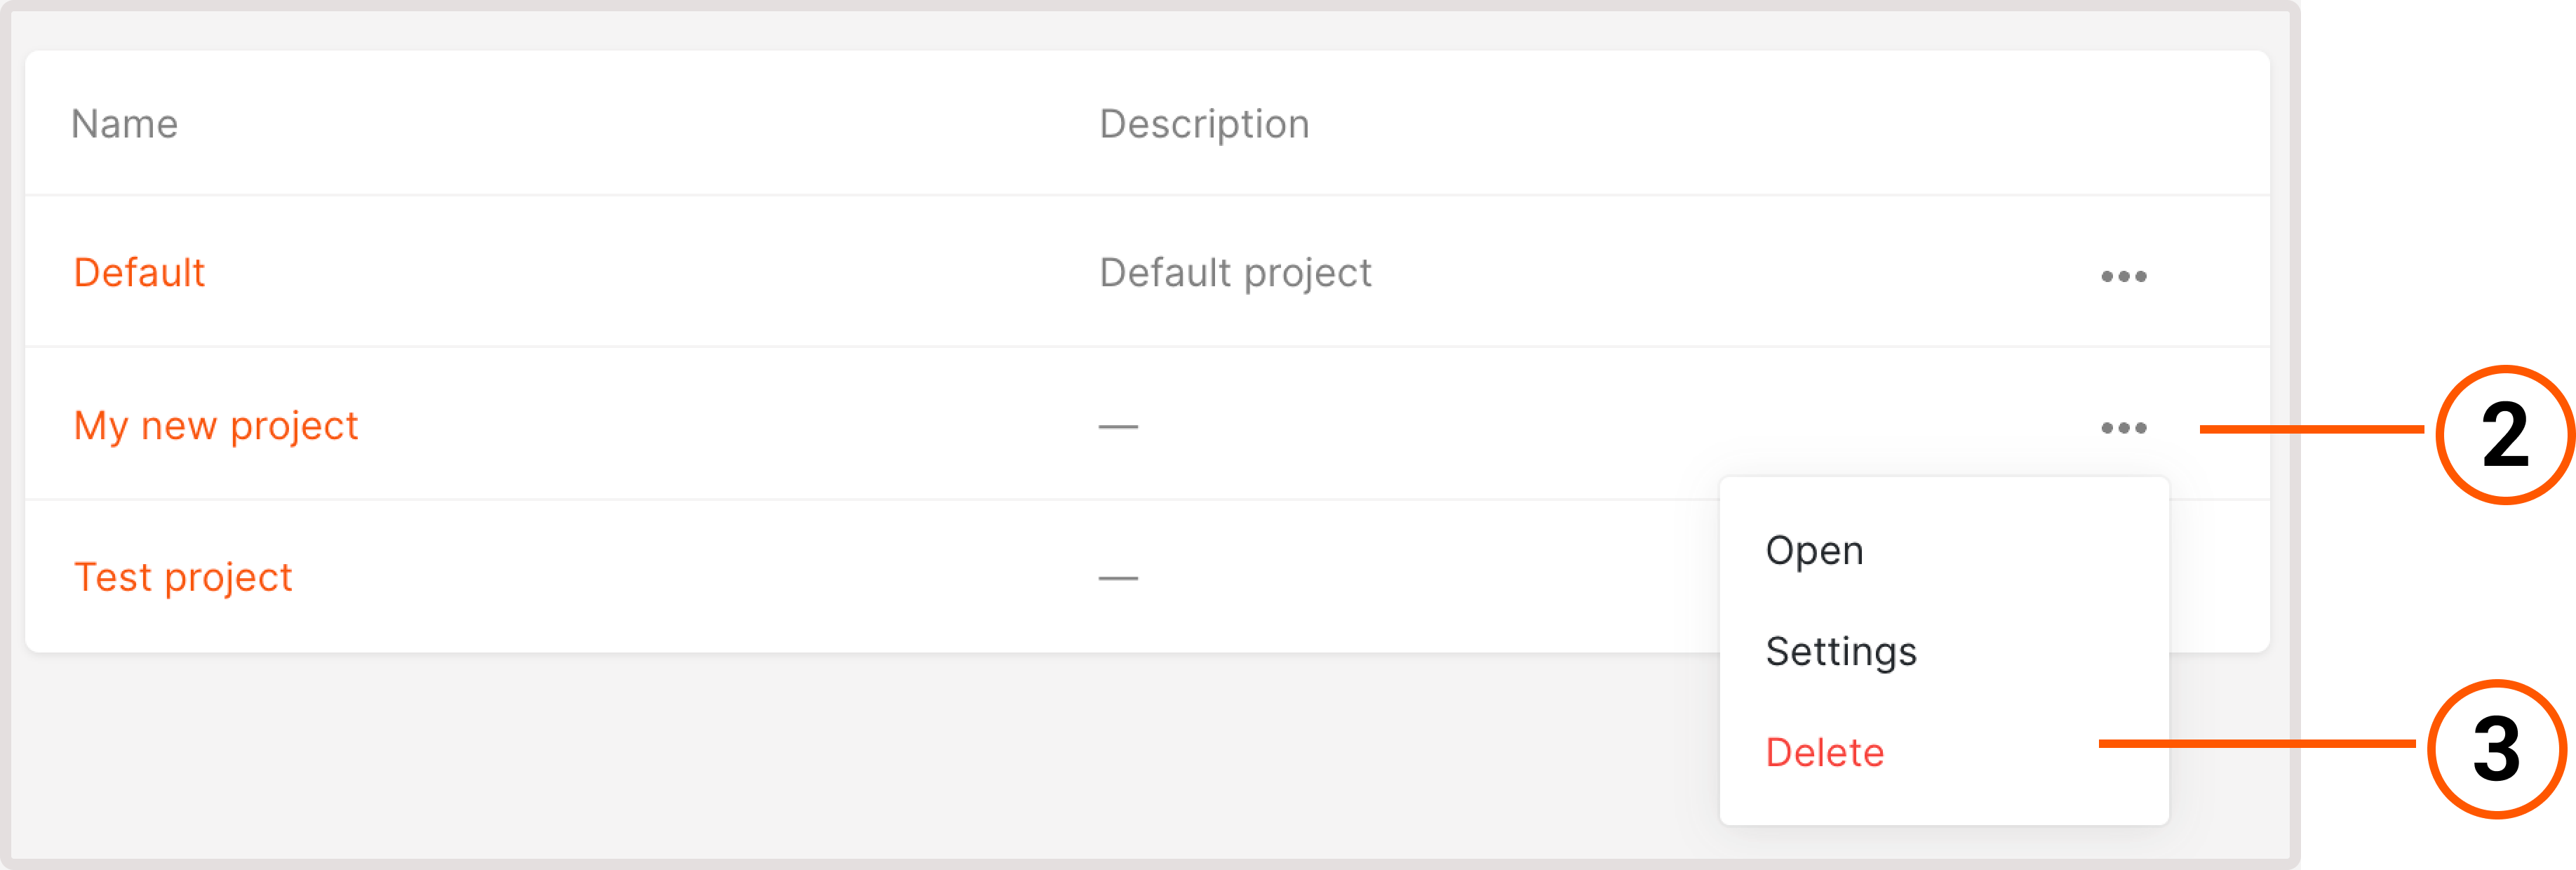
3. Select Delete.
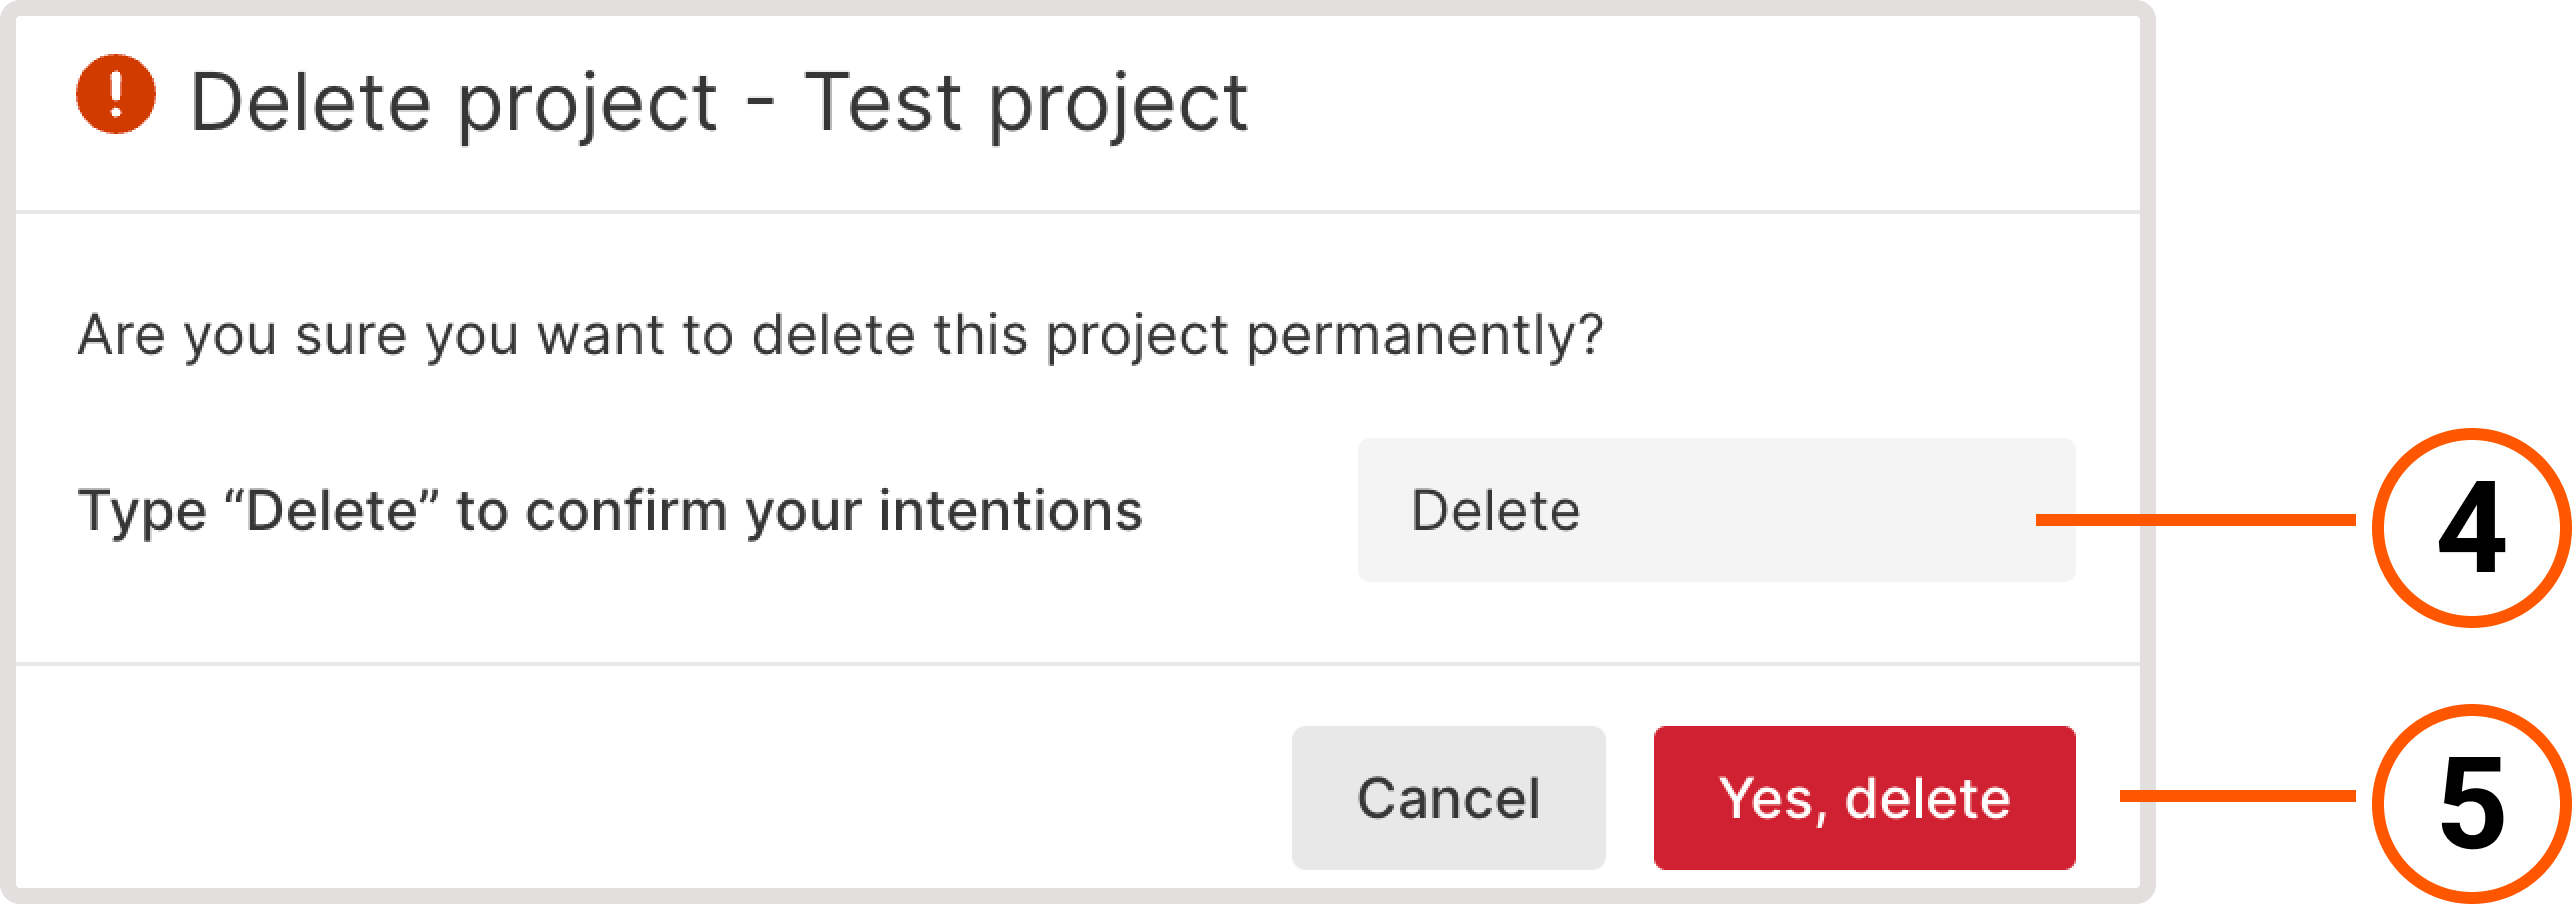
4. Confirm your action by typing “Delete” in the text field.
5. Click Yes, delete.
6. Your project has been successfully deleted.