Create and configure a reserved IP address #
Reserved IP is an IP that you reserved for yourself and can be assigned to an instance or a load balancer at any time.
What it is used for #
Since you know the IP of the future equipment, you can pre-configure your services for it — for example, create a DNS record for this IP or configure the server to connect to it.
Also, a reserved IP can be used as a virtual IP address .
How it works #
After you created a reserved IP, this address becomes yours inside our system. No one can use it except you.
How it is charged #
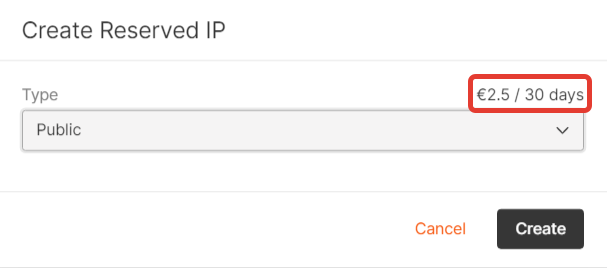
The IP price per month is displayed in the order window. You pay only for the time from creating an IP to deleting it: for example, if you had reserved an IP and then deleted it after an hour, you will be charged only for an hour of use. The price doesn’t depend on whether the address is assigned to the instance or not.
Reserve an IP address #
Open the tab “Reserved IPs” in the “Networking” section.

Click the “Reserve new IP” button

Select the IP type — public (for external network) or private (for internal network). A public one can be created immediately. For private, select the network and subnet in which the address will be created. Please note: reserved private IP can only be used in the specified subnet. If you wish, you can order a specific address by entering it in the “IP address” section (it must belong to the subnet). Then click “Create”.


Assign a reserved IP to an instance and detach it from the machine #
Assign during instance creation #
When creating an instance, in the “Network settings” section click the arrow next to the network you want to assign an IP to. Then move the “Use reserved IP” slider and select the desired IP from the list. Save the settings and this address will be assigned to the instance.


Assign after instance creation #
Go to the instance menu and open the “Networking” section.
If the machine has already been added to the subnet you want to assign an IP to, disable that subnet. This will remove the old IP.

Add a new interface (public or private) and move the “Use reserved IP” slider. Then select the desired IP and click “Save Changes”. The IP will be assigned to the instance.


Detach from the instance #
Detach the subnet the reserved IP is assigned to. This address will be detached from the instance automatically.

Assign a reserved IP to a load balancer and how to detach it #
You can assign the reserved IP only during the balancer creation. In the “Network” section, select the network (public or private) to which you want to bind the address, move the “Use reserved IP” slider, and select the required IP. It will be assigned to the balancer.


Determine which server the specific reserved IP is assigned to #
Open the “Networking” → “Reserved IPs” section. In the “Status” column, you will see what equipment the IP is assigned to. Click the orange text “Instance” or “Load Balancer” to go to the menu of this equipment.

Delete a reserved IP address #
Detach it from the instance or load balancer. Then go to the “Networking” → “Reserved IPs” section, click the selector next to the IP and select “Delete”. The address will be deleted and no longer charged.
