Take a snapshot of your file system #
Snapshot is the state of a system at a particular point in time. The snapshot can be used for backup and further recovery, as well as for deploying new instances from snapshots of system disks.
Difference between system and regular disk snapshots
You can make a snapshot for both system (boot) disks and regular disks.
The system disk is the disk on which the operating system is installed. On this disk, the operating system (OS) stores everything it needs to work.
Regular disk - contains all other information for use, except the operating system.
Creating a snapshot #
From the “Snapshots” section #
To make a snapshot of the disk, go to the “Snapshots” section inside the project.
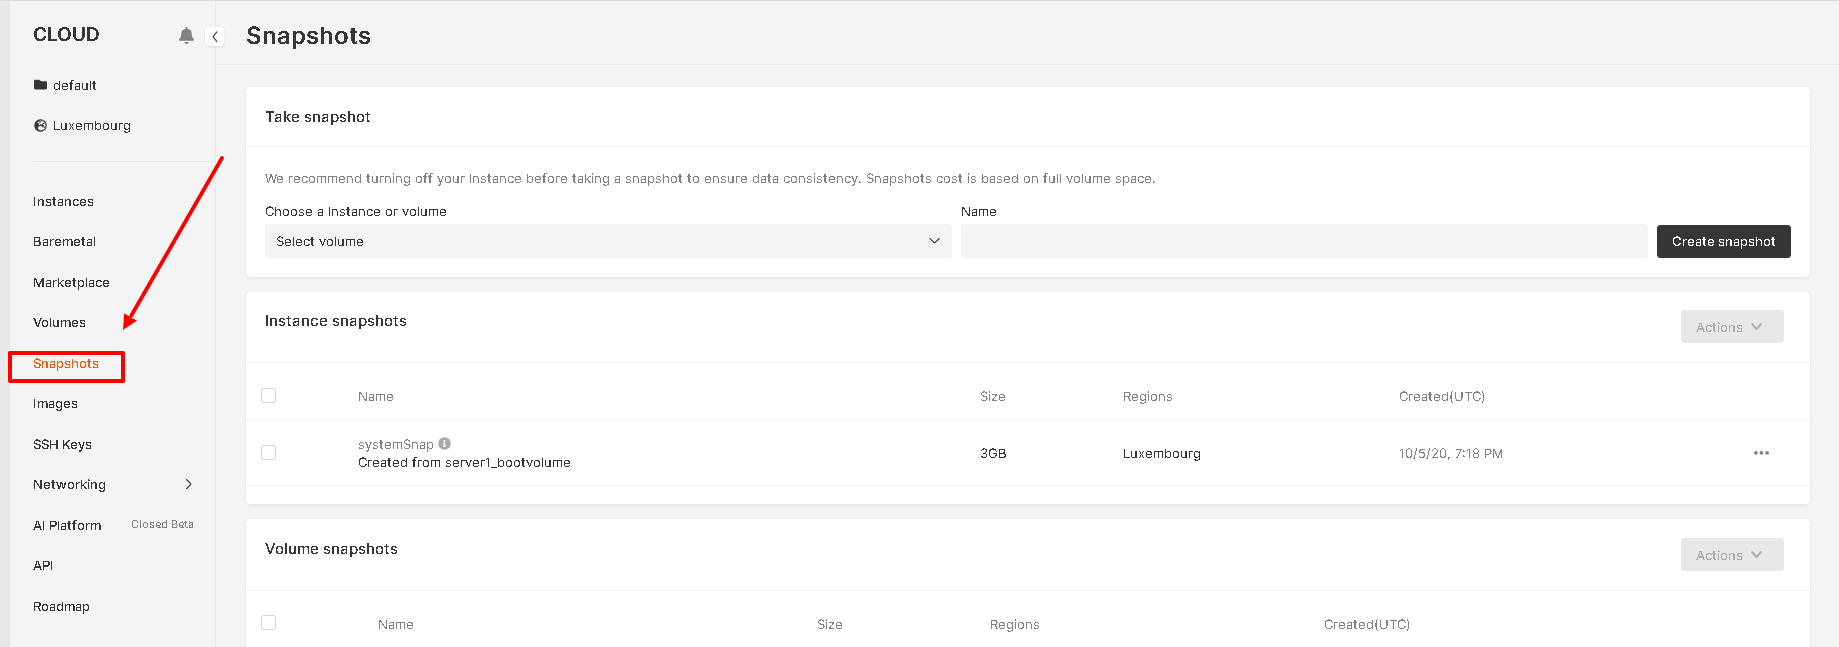
In the “Take snapshot” section, select the disk to create the snapshot. System disks will have the “_bootvolume” Postfix -> Enter a name for the snapshot in the “Name” field and click “Create snapshot”.
From the “Volumes” section #
Inside the project, in the “Volumes” section, select the disk to create a snapshot -> on the selector on the right from the selected volume -> select the “Take snapshot” option
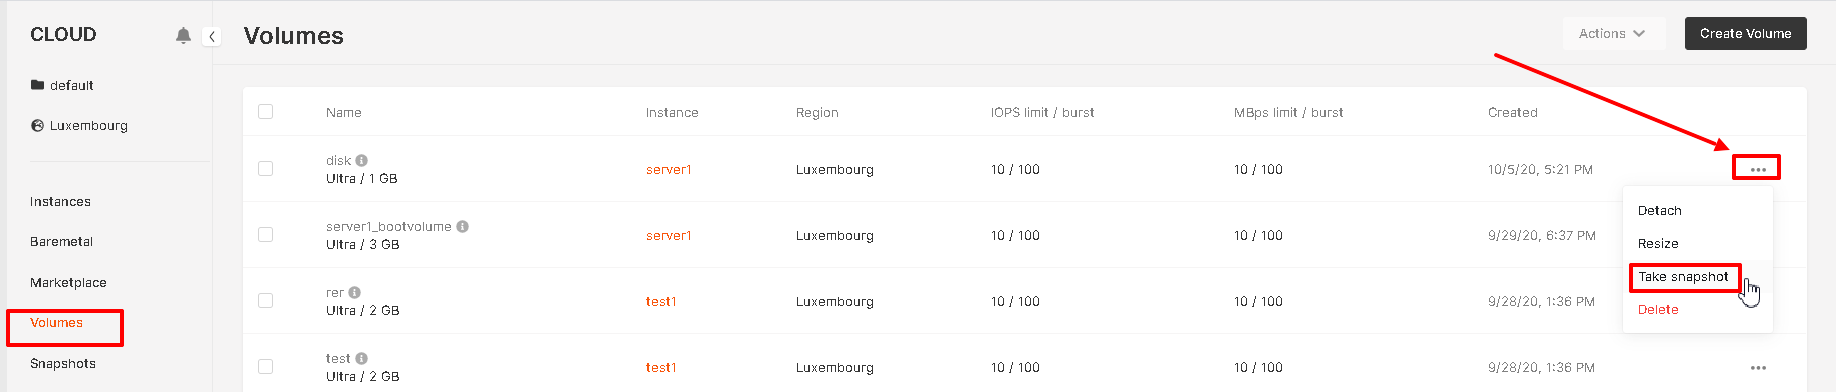
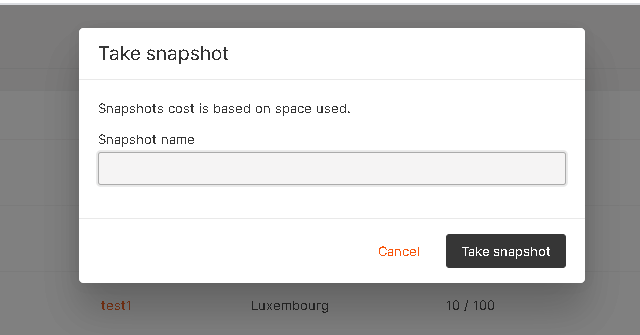
In the drop-down window, enter a name for the snapshot and click “Take snapshot”.
From Instance #
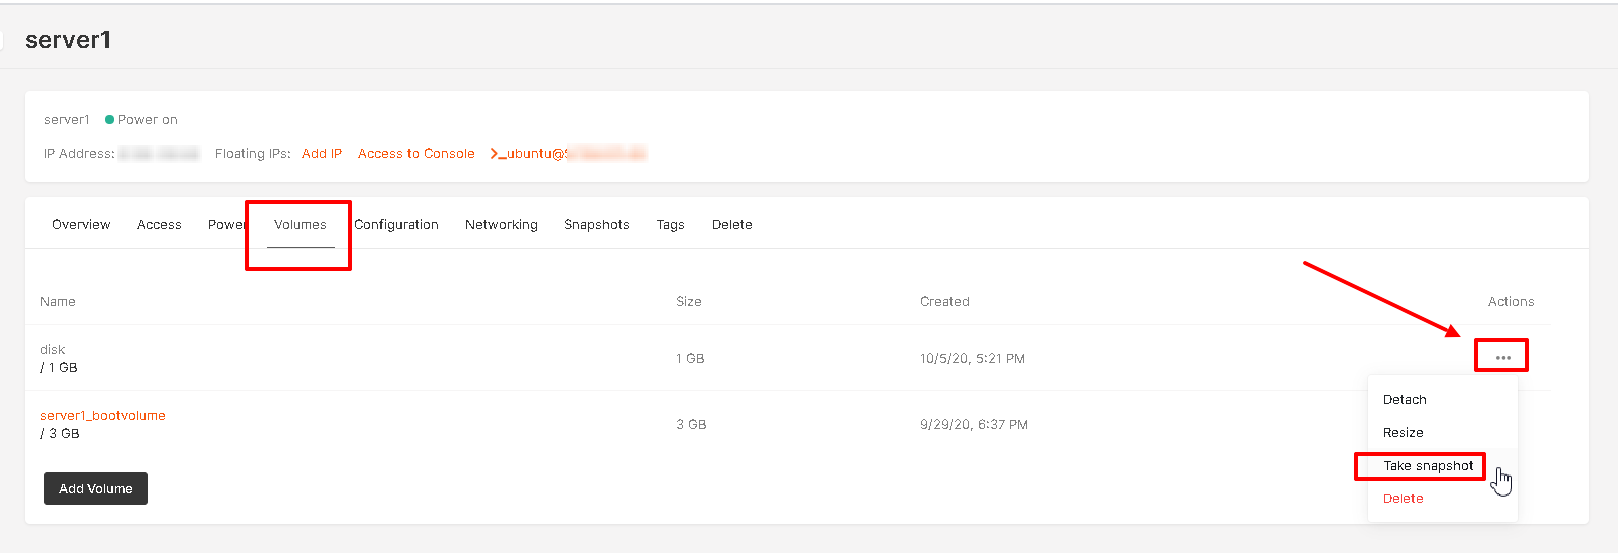
Inside the project, go to the “Instances” section -> select the Instance you want to take a snapshot from -> select the “Overview” option on the selector on the right from the machine.

Go to the “Volumes” section -> select the disk to create a snapshot -> select the “Take snapshot” option on the selector on the right from the disk
In the window that opens, enter a name for the snapshot and click “Take snapshot”
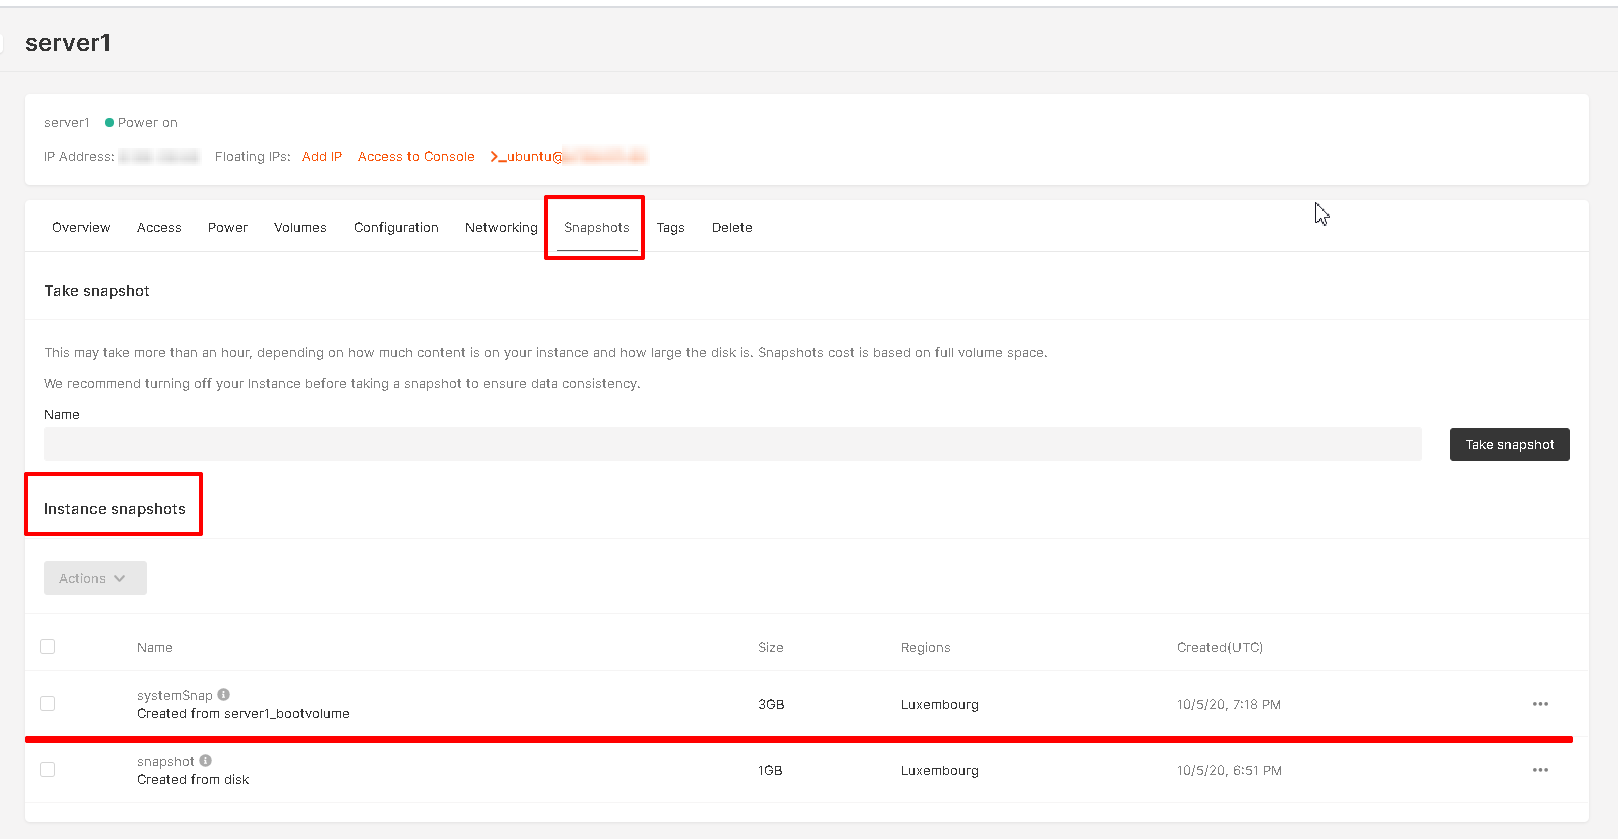
In the “Snapshots” section, you can view a list of created snapshots from Instance disks
Snapshot management #
A list of all created snapshots can be found in the “Snapshots” section, inside the project.

You can select the necessary option on the selector on the right from the snapshot:
To create an Instance from a snapshot of the system drive  #
#
Create a disk from a disk snapshot  #
#
Delete a snapshot #

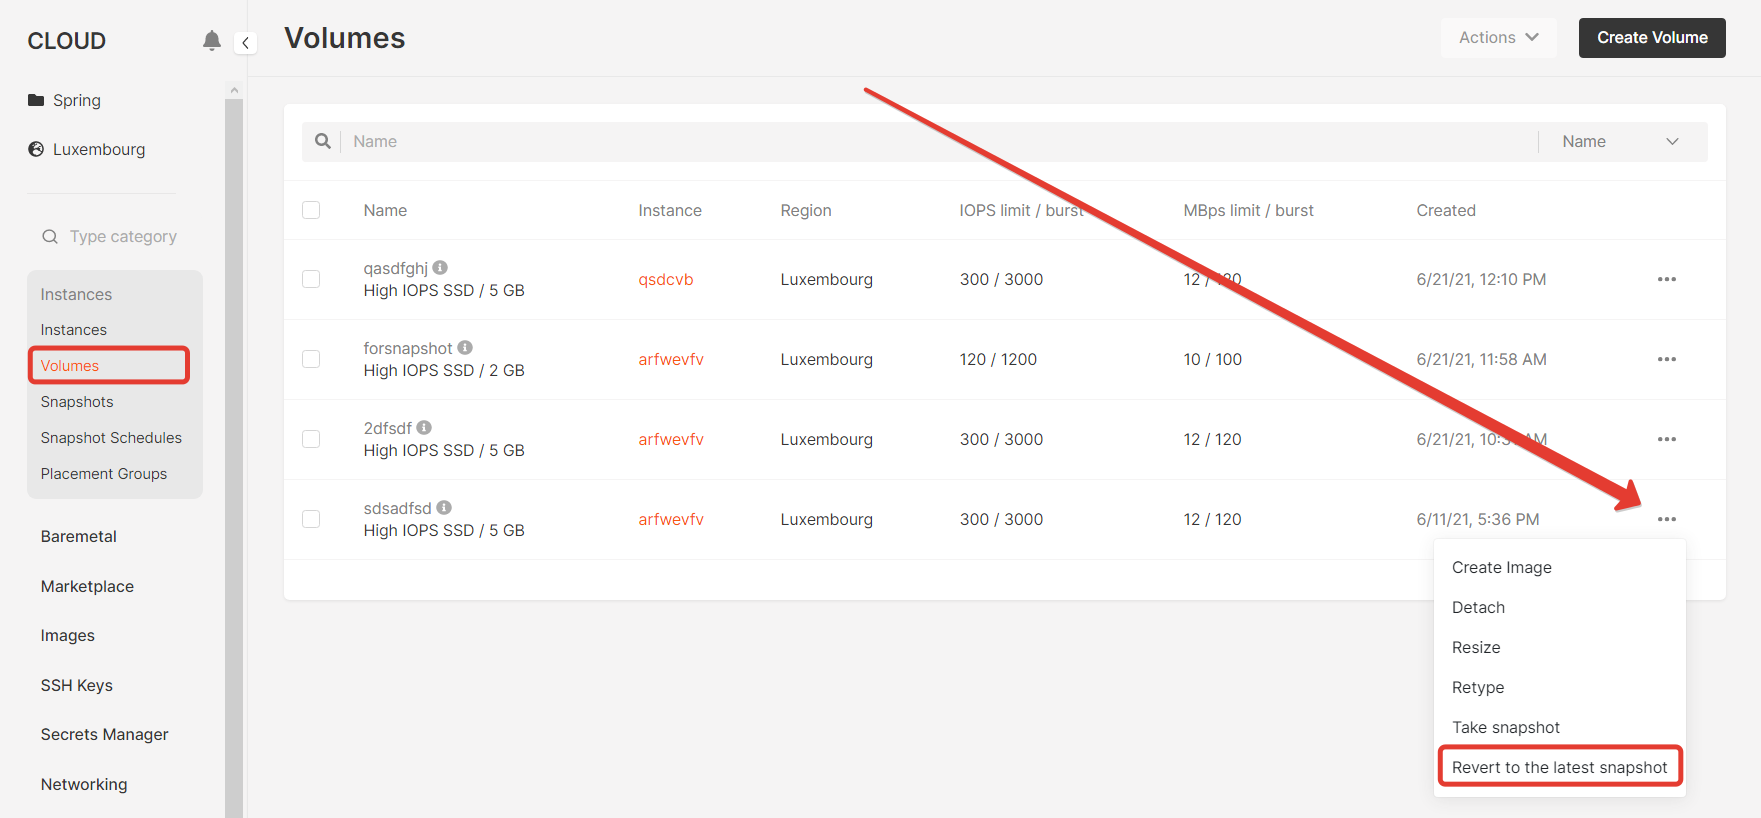
Also, you can revert a volume to the latest snapshot. Open the “Volumes” section, detach the volume from your instance and select the reverting option on the selector.
Please note: if you have just resized the volume you will not be able to use the function because the last snapshot is designed for the old size. You can only create a new volume from it. For the new size volume, you need to create a new snapshot.